
The best gift for a milestone birthday? A tribute book filled with love!
Have you ever wondered how to make a tribute book for a loved one’s milestone birthday? Keep reading for a step-by-step plan (plus some tips for writing the best tributes ever!).
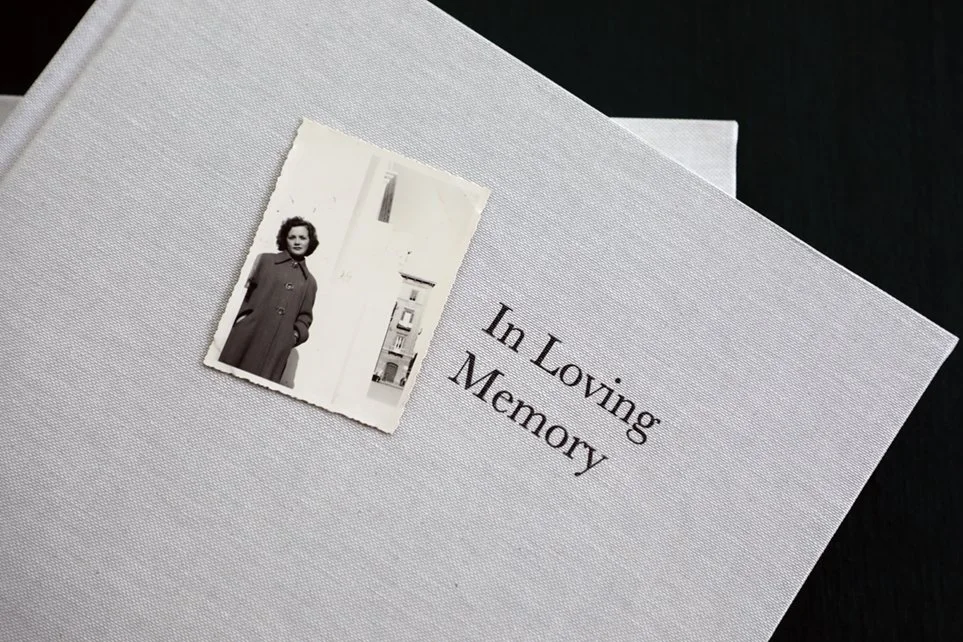
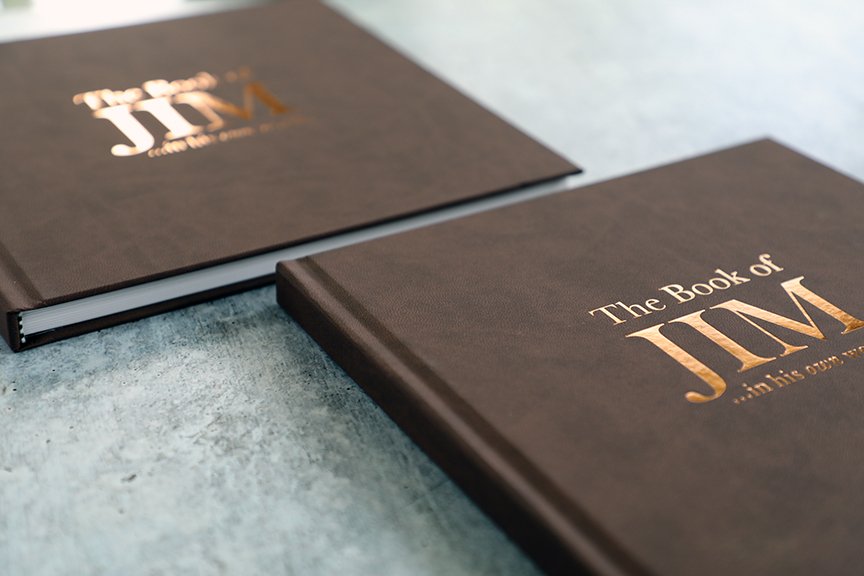
Early on at Modern Heirloom Books, creating tribute books in honor of deceased loved ones became a bit of a specialty of mine (inspired by the first book I created memorializing my own mom). I soon realized, though, that this same format could be used to honor living family members—and what better occasion than for a milestone birthday?
Whether you call them birthday books, memory books, or tribute books, the idea is to gather photos of and stories about the gift recipient. Once designed and printed, these one-of-a-kind books make a most meaningful (surprise!) birthday gift. But where to begin?
The very notion of having to put all these disparate pieces together can stop some people from ever undertaking a birthday tribute book—but I’ve got you covered. What follows are the essential steps to create the best tribute book as a unique, sure-to-be-treasured gift for a 40th, 50th, 60th, 70th, 80th, 90th (you get the idea!) birthday.
Oh, and one more thing: It’s key to start this process early, both so you are not feeling the pressure of a last-minute rush to finish and so you can have a cushion should any delays occur at the printer. How much time will you need? My best guess is about four months from start to finish.
1 . Consider who will contribute.
Your first order of business is to create a list of everyone you would like to participate. Think about family members, friends (new and old), work colleagues, sports teammates—anyone who knows and loves the birthday celebrant.
2. Designate a way for people to contribute.
How will you invite participants to share their stories? You may have a dedicated email address for receiving tributes and photos; or create a private web page or Dropbox folder for people to easily upload their materials, for instance. It’s handy to have a checklist of all contributors (I create this in a Google spreadsheet) so you can check each person off as their files come to you; label columns as
NAME
TRIBUTE RECEIVED
TRIBUTE EDITED
PHOTO(S) RECEIVED
PHOTO RESOLUTION CHECKED
NOTES.
3. Gather photos of the birthday celebrant.
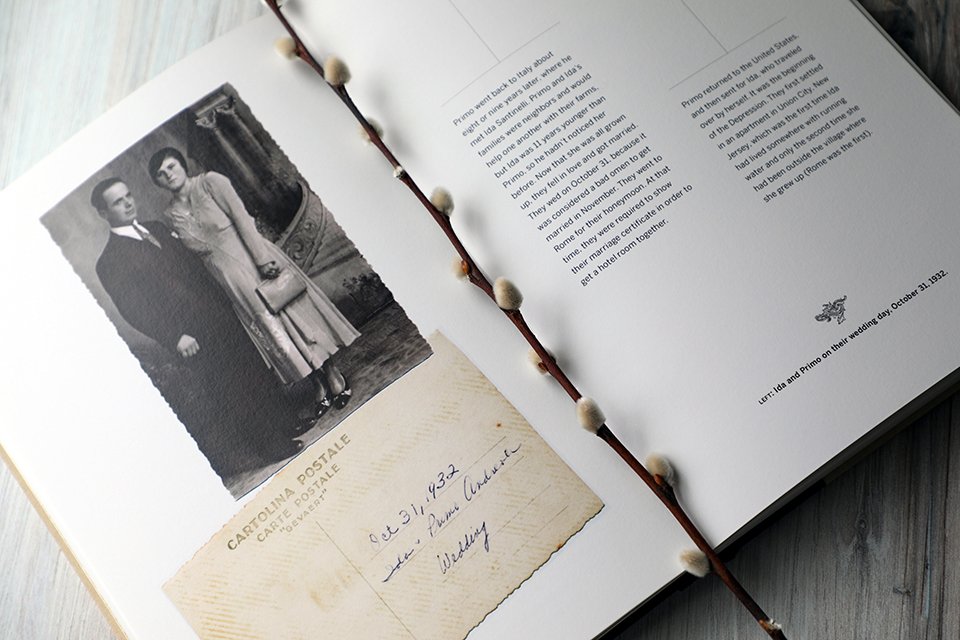
I generally recommend including 1-3 photos per tribute, on average. That may mean that some friends or colleagues, for instance, have no photos, while close family members may have a handful extra. Curation is key: Ask for images that convey the subject’s most enduring traits, that capture happy times or vivid moments from their life; and that illustrate stories you (or others) plan to write about them. Include photos from different stages of their life, too—from childhood through old age—so you show their personality and experiences but do not overwhelm. And ideally, you’ll want to gather photos of each storyteller (the writers of the tributes) with the recipient whenever possible! The pictures should complement the stories, not detract from them. Technical tip: Source only high-resolution images—that means 300 dpi for print—and have print photos professionally scanned (it’s worth going the extra mile here else risk being disappointed with your final book).
4. Capture stories about your loved one.
It’s time to start writing your birthday tribute, and to send those invitations out inviting others to share, too (see Step No. 2, above). Before beginning, spend five minutes jotting down all the things about the person that make you smile, laugh, or feel strongly—include phrases about their traits, sure, but focus on specific experiences with them. You may want to use a few of the photos you gathered to stir your memories. Another foolproof way to get your stories flowing: Converse with a mutual friend or family member about the subject. One story will remind you of another, and you’ll undoubtedly be inspired—so either hit “record” during your conversation or have a laptop or notebook handy to write immediately afterwards.
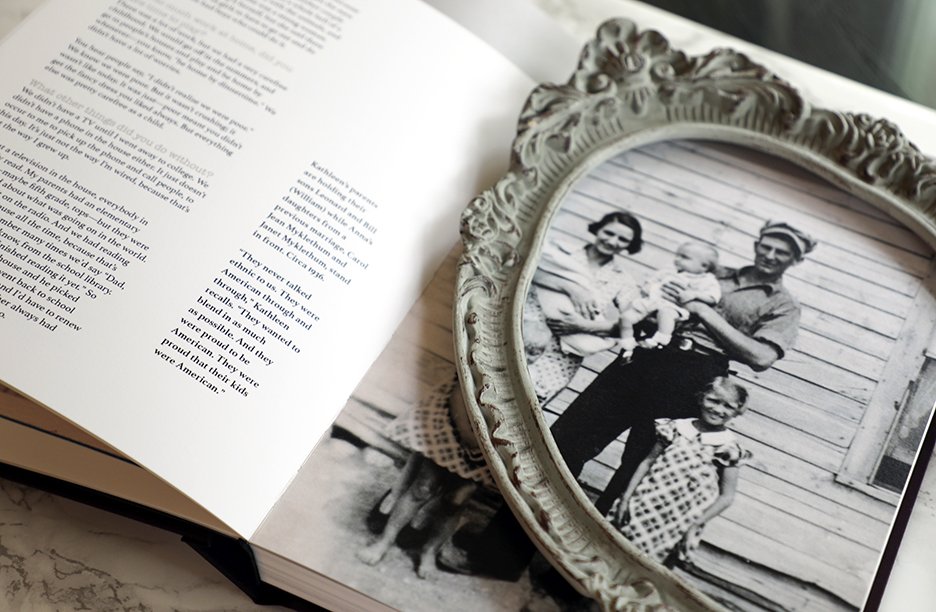
5. Put it all together in a book.
In professional bookmaking parlance, we call this the production part of your project: editing, designing, and producing print-ready files; sourcing and working with a printer; and ensuring quality along the way. There are some DIY options out there—scrapbooking and the free software Bookwright among them—and I encourage you to give this a go if you have some creative experience and are a solid project manager. Remember, though: No one expects you to become a pro at this overnight, and there’s a lot to juggle to put a tribute book such as this together; so consider hiring a pro for this step to make your life easier, and to ensure you are thrilled with the book that is ultimately created. (Reach out if you'd like to talk about working together.)
6. Bonus tip: Set deadlines for each step!
Without deadlines, I doubt your project will get finished. Since you are creating this book for a milestone birthday, your deadlines are clear—work backwards from the date the books are needed (either their exact birthday or the date of a party in their honor). Here is a suggested timeline:
8 weeks before birthday:
Finalize list of contributors.
Record/confirm their email addresses or phone numbers (however you will communicate with them about their contributions).
Create checklist of contributors per Step No. 2 above.
Invite contributors to send their tributes and photos for the birthday book.
6 weeks before birthday:
Initial deadline for tributes and photos due to you (you can extend by a few days here or there for stragglers if necessary)
5 weeks before deadline:
Edit and design the tributes into a coherent, beautiful book.
4 weeks before deadline:
Order book from printer. (Note: This timeframe should be based on the estimated turnaround time from your specific printer. I always, always allot at least one full week extra to account for mail delays or production snafus.)
Setting clear deadlines such as this will not only lend your project a sense of urgency, it will give you a way to stay accountable—and ultimately get everything done!

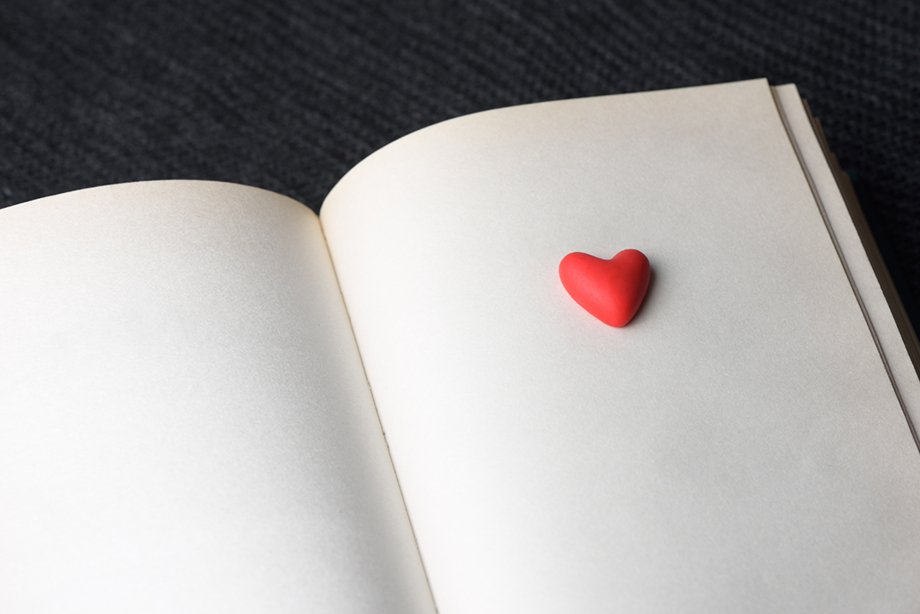
The best tributes honor the birthday celebrant with specific stories of shared experiences and special times. Selecting key quotes to design larger on the page ensures that even if they’re just flipping through their gift, they will encounter meaningful notes along the way!
Ideas for making a birthday celebrant feel special
Use the prompt “remember the time...” to offer up:
Something ridiculous you did together that still makes you laugh (or, ahem, blush)!
A memory from your childhood that they may have forgotten.
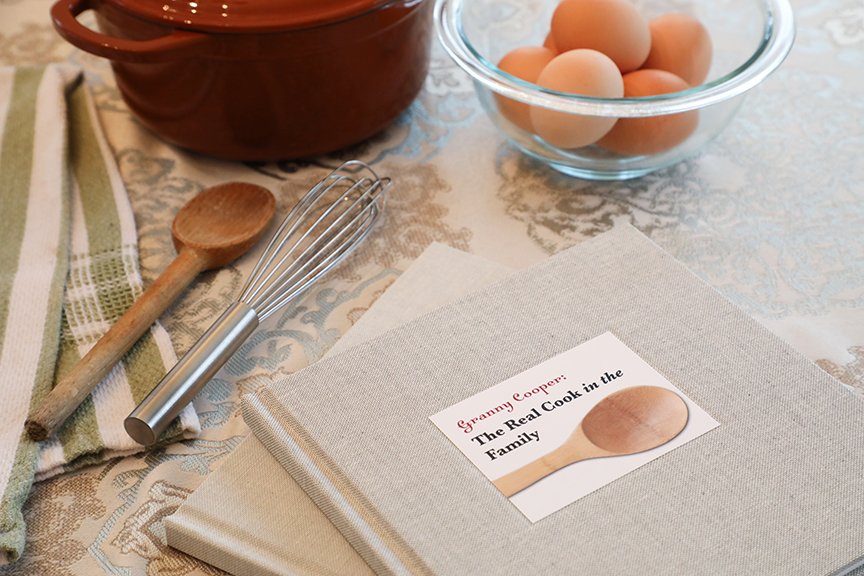
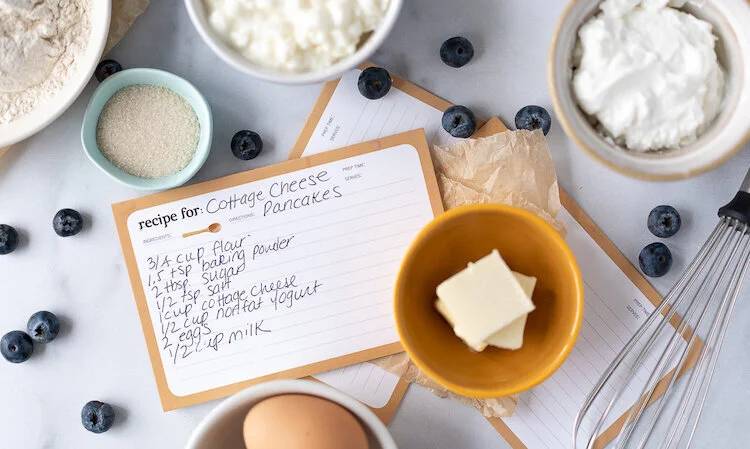
That time you traveled together...or cooked together, messed up together, sang karaoke together, considered doing something daring together—you get the idea!
Or tell them a story that might surprise them, perhaps about:
Something seemingly insignificant that they did (for you or for another) that made a major impact on you.
Advice they gave that you took to heart.
Something they said off the cuff that resonated deeply.
Always be specific and offer up stories and memories that will make the gift recipient smile and, most importantly, feel deeply.
Write the way you speak and I guarantee your story will turn out beautifully. (If the notion of writing truly paralyzes you, use the voice recorder app on your smart phone to talk about your memories, then you can transcribe it later.) Allow yourself to be vulnerable, and use the list you brainstormed above to inform the tribute you are writing.
Good luck with this most meaningful project, and congratulations on taking the first step to creating the most unique and special gift for your loved one’s milestone birthday!


A book that captures your legacy should be designed with longevity in mind, so it remains engaging and accessible for generations. It should be beautiful, too.