
How to decide which photos to use in your life story book
Rule number one: You don’t want to use ALL of your photos in your life story book. Thoughtfully choosing which pictures help tell your story—and elicit emotions—will produce a finished product that feels inviting and impactful.
You’ve finished your memoir manuscript or your personal history interview sessions and are itching to move on to the design stage of your life story book—but first, photos! Choosing which images will make it into your book can be a daunting task. Having done some pre-project photo organization will help, but honestly, it comes down to keeping two principles in mind:
Choose photos that have emotional impact.
Choose photos that help tell your stories.
You want to choose images that not only help you tell your story, but that make the readers of your one-day book feel something. Because, remember this: While you and your friends and family will enjoy your life story book now, it’s your kids’ kids—those future descendants you may never meet—who will one day flip through the pages of your book and wonder: Who were you? How did you live your life? What made you laugh and cry and feel afraid? How were you like them? How were times different?
The photos that accompany the written stories in your book serve not only to amplify and illustrate those stories, but to draw folks in. So choose varied images. Make some really big (how I love a full-bleed photo!). Make others small, along a timeline or in a grid. And, unless you only have a handful of old photos in your possession, don’t include them all: You must curate them, choose photos that serve your story and your audience, that add context and color and visual interest.
Choose photos that make us feel—because, again, it’s all about emotional impact. Beyond that, here are a few tips for choosing the best photos for your life story book:
4 tips for curating your life story book images
Zoom in and zoom out.
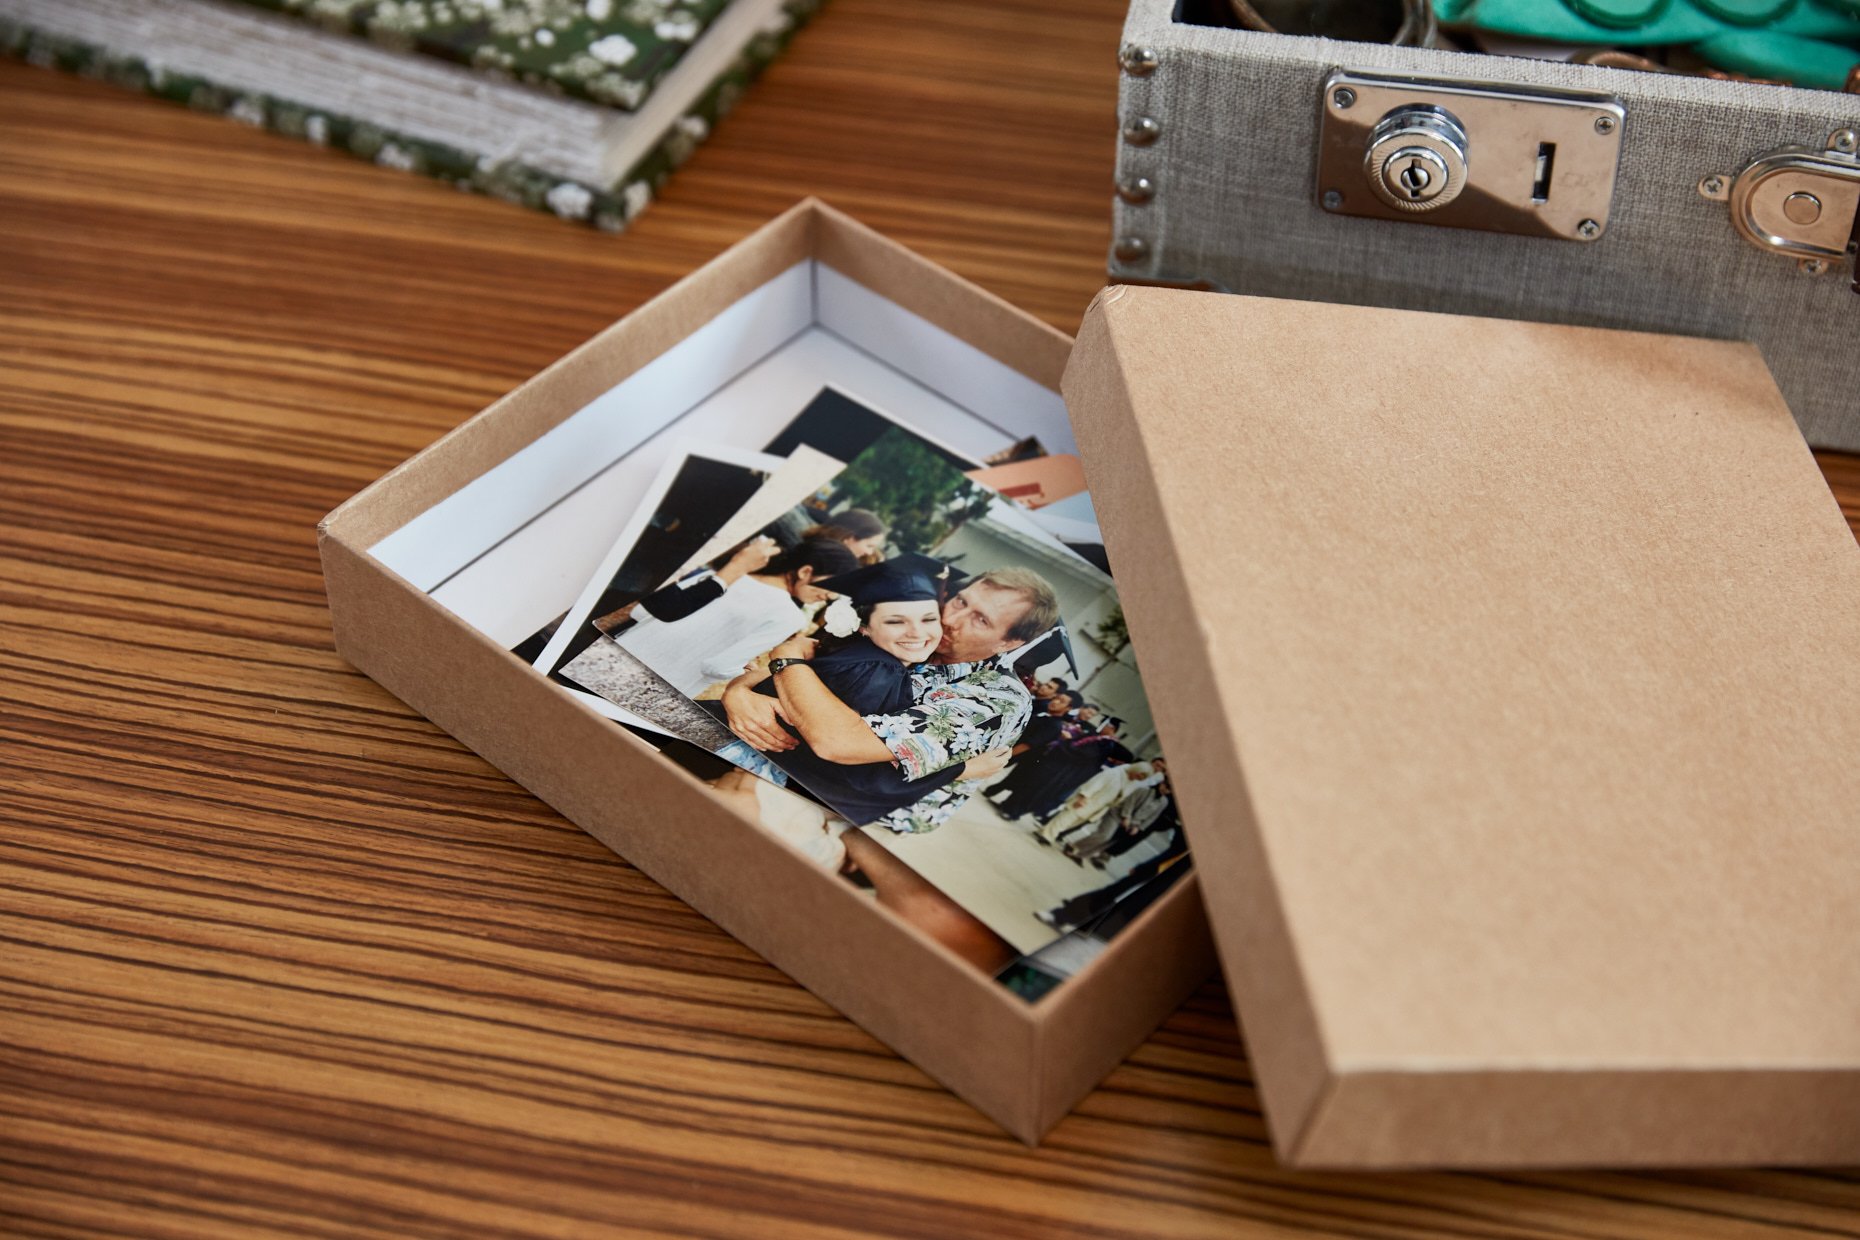
Choose photos that show a scene in context—the whole family standing around in your backyard during a get-together, for instance; and then include a detail shot—your child’s hands holding a stick roasting s’mores over the fire pit, perhaps. Your readers will feel invited into the scene by the zoomed-out shot, and feel emotions (nostalgia, comfort, love!) well up from the intimate detail shot.
Choose people when possible.
Do you have some stunning pictures of the Alaska landscape from your trip there? Certainly consider including a scenic shot to set the tone of a chapter, but opt instead for the photos that show you in the scene to aid in your storytelling. We connect with people.
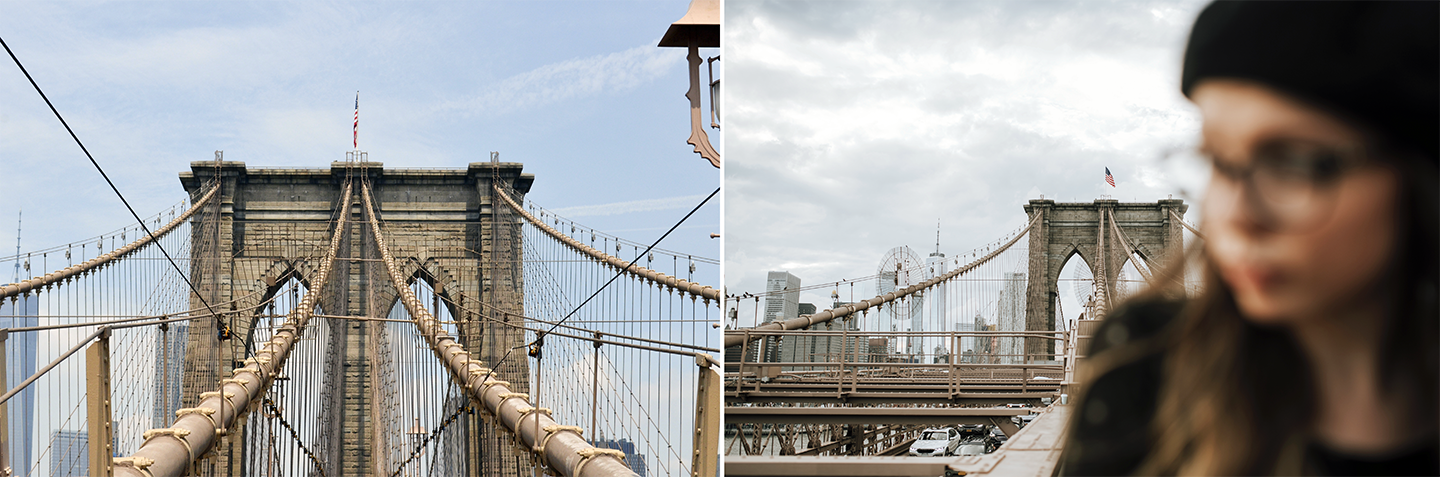
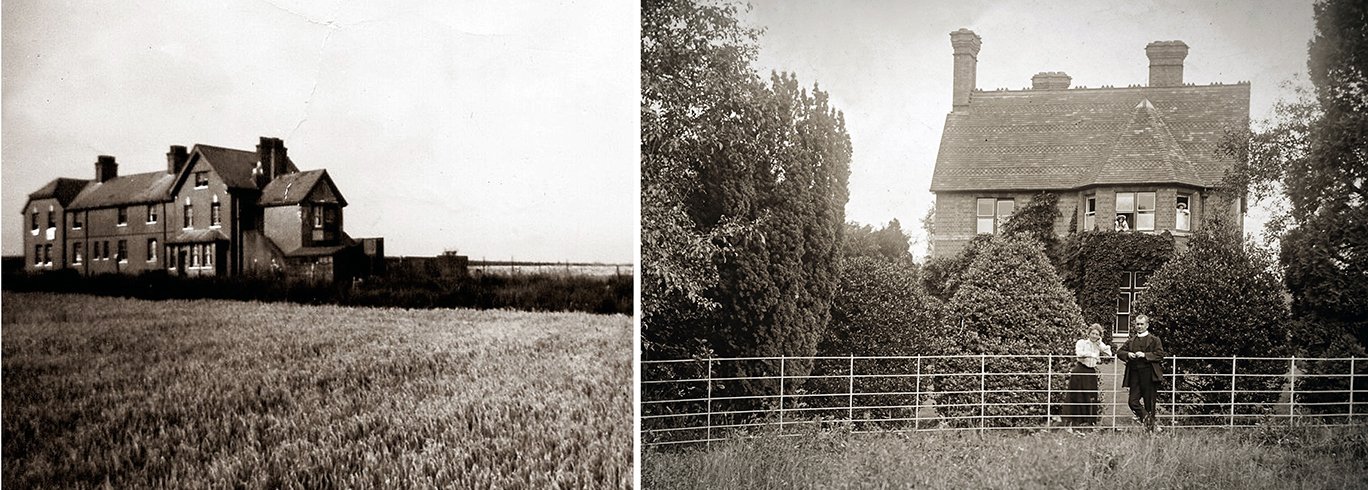
The image on the left, above, would be great in a travel album, but the one on the right—which shows not only the Brooklyn Bridge but the person who was visiting—is better suited to a family history book. Below, wouldn’t you agree that the photograph of an old family home resonates more when there are people in the frame, too?
Let details shine.
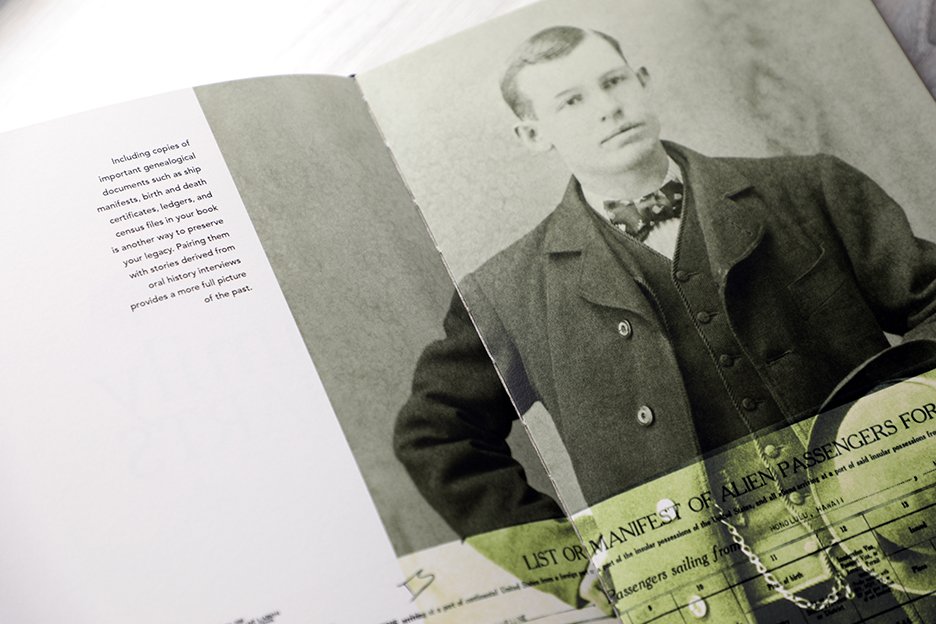
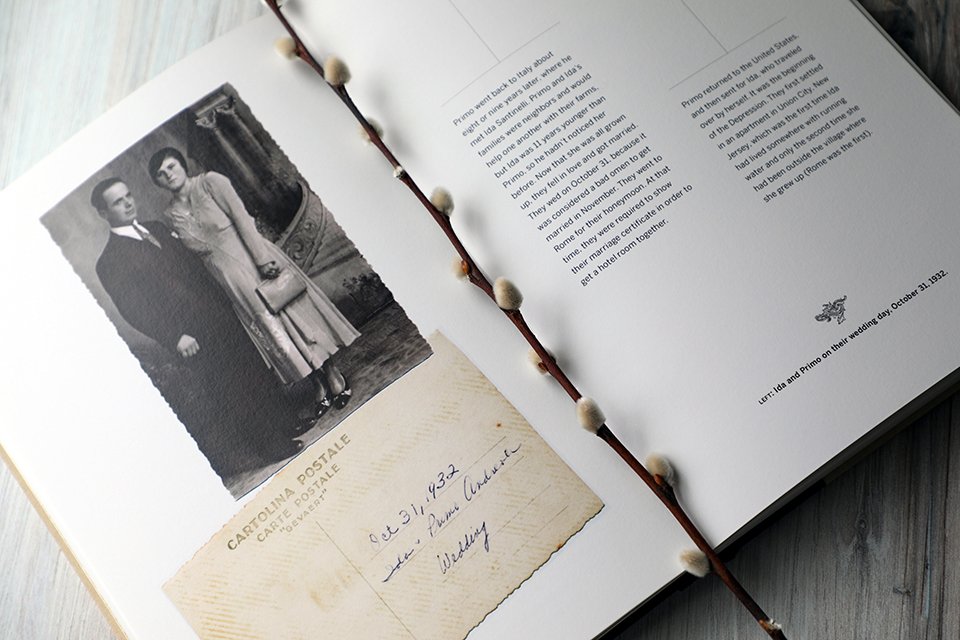
Nanny’s floral-print house dress. Momma’s slim cigarette burning to ash in a glass dish on the kitchen table. The framed prayer card with rosary beads hung over it on the mantle. Pop-Pop’s cane leaning against the wall. Scout out details in your photos that bring your family’s stories to life. And don’t just think about homespun details—consider those that reveal history in a broader sense: Grandpa’s World War II dog tags, a photograph of your ancestors in their hometown before immigrating, a headline on weathered newsprint. Such particulars add nostalgic flavor and ground your stories in history.
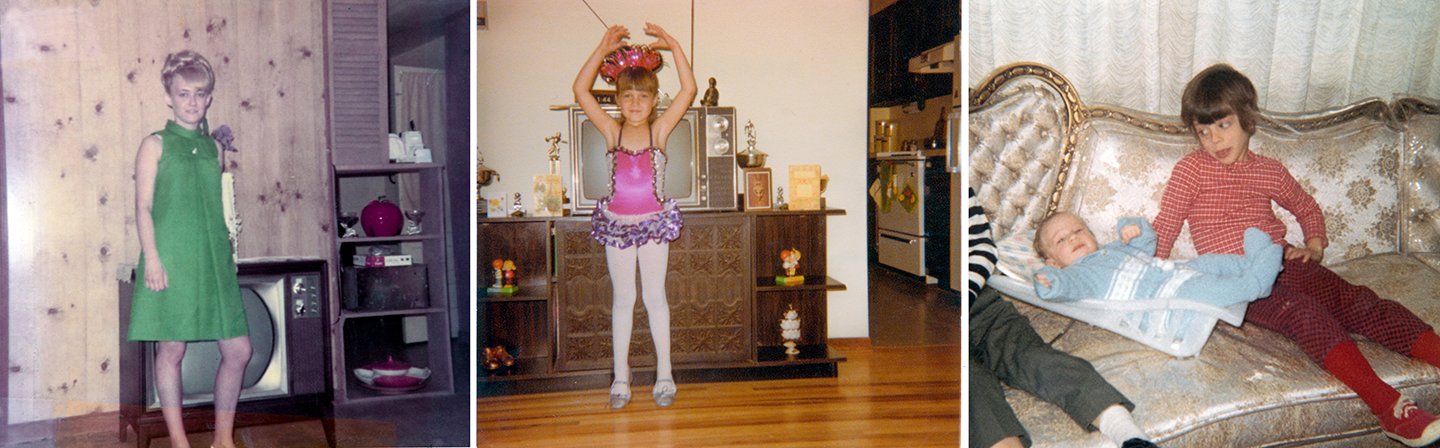
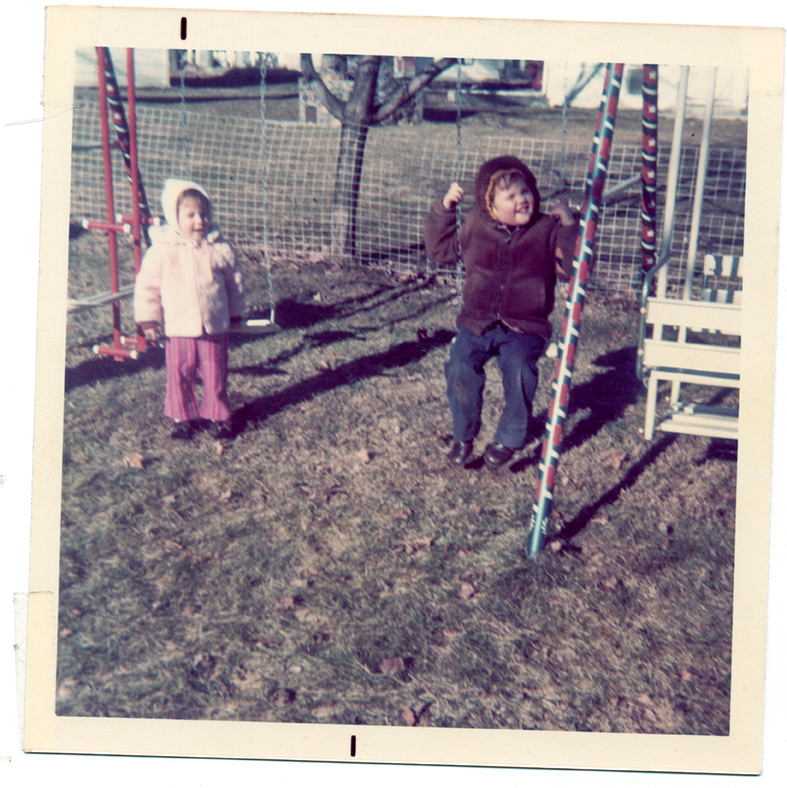
In all three photos above, details—from the old television boxes to the wood paneling to the trophies and the plastic-covered couch—provide texture and context, making them fun choices for your life story book.
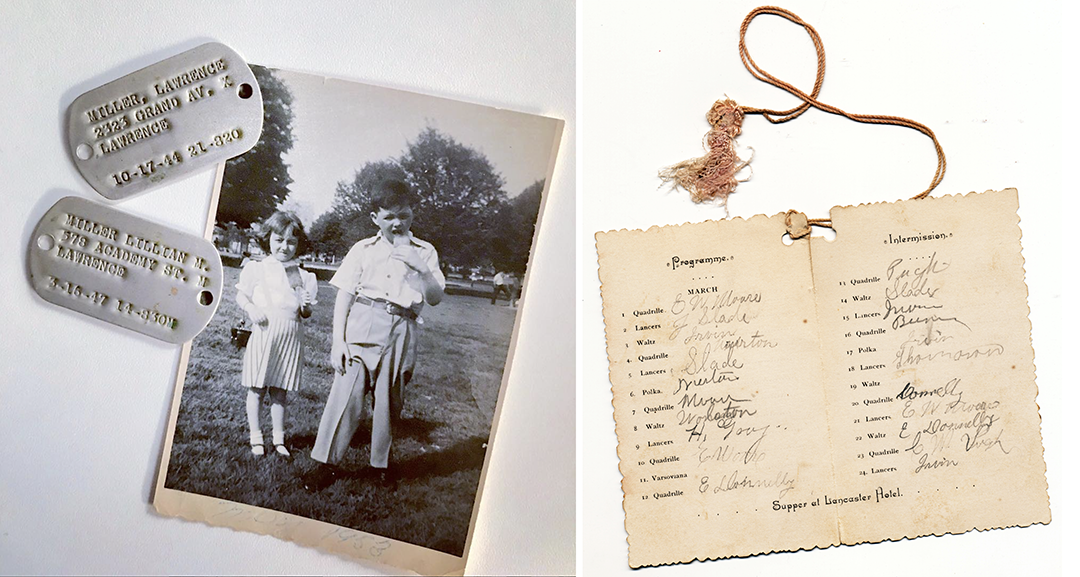
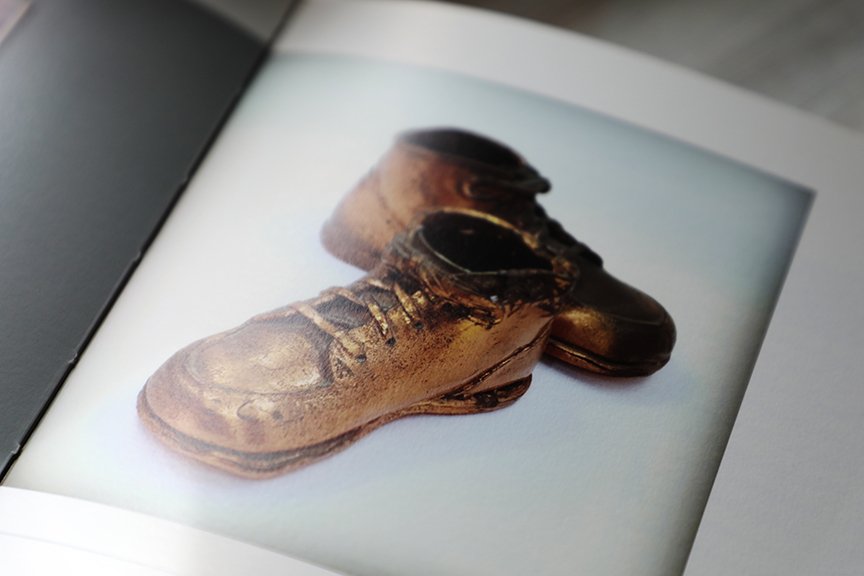
Another idea, below: Photograph small items that bring your stories to life, such as these Civil Defense Identification Tags from the 1950s (these belonged to my mom and her brother) or this tasseled dance card from 1889 (a cherished memento from a former client).
Always go for personality.
I gravitate to a candid photo over a posed shot every time. Think about it: That picture of your dad as a handsome teenager laughing as he almost drops his sister into the pool has way more personality than the studio portrait of them side by side in their Sunday best. I am not saying not to use those polished portraits, but rather to use them in straightforward ways such as on a graphic family tree, or early in your book to identity people. Then, enlarge the images that have motion and humor and joie de vivre—I guarantee those are the ones your descendants will connect with and be drawn to years from now!

Candid photos are vibrant—they jump off the pages of your family history book with energy and life. Certainly used those posed pictures and studio portraits to identify family members, but don’t forget to include images that show your loved ones’ personalities, as well.


Discover how the Proust Questionnaire can unlock your memoir. Reflective questions to spark memory, deepen insight, and reveal your authentic story.