
How to turn an oral history into a compelling story
Once you’ve interviewed your family member(s), you’ve got the most important step under your belt—congrats! But why not take the NEXT step and turn those spoken stories into something more permanent and engaging: an edited narrative that will hold meaning for generations?
So many people land on my website in search of family history interview questions (are you one of those folks?). And while ASKING the questions—and recording them—is literally the best first step (even if you never do anything else with the recordings, you have them!)…it’s always my hope that you’ll go a few steps further and hone those interviews into compelling narratives.
This process involves capturing the storyteller's voice, structuring the narrative effectively, enriching it with context, and editing with care. Each step is crucial in preserving the authenticity and emotional depth of the original accounts, ensuring your stories will be read (happily!) for generations.
If you’d like to conduct the personal history interviews then hand them over for professional editing, please reach out to schedule a phone call to see how we might work together. If you’d like to give it a go yourself, here are some concrete steps—as well as further reading on each topic—to help you turn raw conversation into engaging stories.
4 steps to turn your family history interview into great stories

Step 1: Conduct thoughtful and open-ended interviews.
A compelling narrative starts with a strong foundation: the interview. Whether you’re sitting down with a loved one in person or recording a conversation remotely, the key is to create an atmosphere of trust and openness.
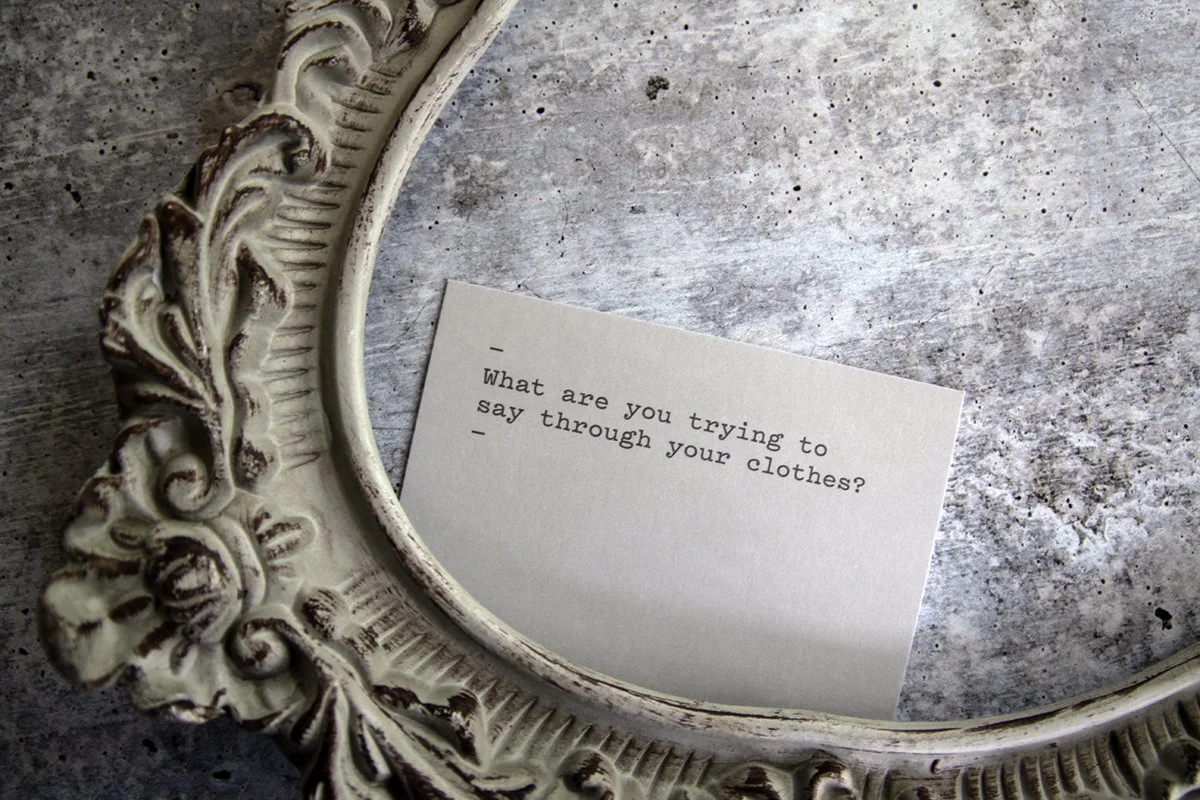
Start with broad, open-ended questions. Instead of asking, “Did you like school?” try, “What was a typical school day like for you?”
Encourage storytelling. Prompt with, “Can you describe that moment in detail?” or “What did it feel like when that happened?”
Follow the unexpected. Some of the most powerful stories emerge when we let conversations flow naturally rather than sticking rigidly to a script.
Record (with permission). This allows you to focus on listening rather than scrambling to take notes.
PRO TIP: Small details often unlock the most vivid memories. Ask about sounds, smells, and emotions to deepen the storytelling experience.
Further Reading: "Best questions to open your family history interview"

Step 2: Preserve the storyteller’s voice.
One of the most powerful aspects of oral storytelling is the subject’s voice. When converting spoken words into written text, aim to retain the unique rhythm, expressions, and personality of the speaker.
Transcribe with care. Capture natural speech patterns, but remove filler words like “um” and “you know” for readability.
Enliven the story with dialogue. If a story includes conversations, write them as scenes rather than summaries. Direct quotes help maintain authenticity.
Use first-person narration when possible. This makes the story feel personal and immersive.
For example, instead of writing: “My grandfather worked in the shipyards during the war. He remembers it was hard work.”
Try: “The shipyards were cold in the winter, blistering in the summer. I’d come home with hands so sore I could barely hold my fork at dinner. But we had a job to do, and we did it.”
Further Reading: “Write the way you talk—your family will thank you”

Step 3: Make the structure easy to navigate—and impactful.
Oral storytelling is often nonlinear—memories surface out of order, details emerge in layers. But written narratives benefit from clear organization.
Consider what structure best serves the story and resonates with the intended audience. This could be:
Chronological: Ideal for life stories or historical accounts.
Thematic: If certain themes (resilience, migration, perseverance) emerge strongly, organize the story around them.
Vignette-style: A collection of short, evocative moments can sometimes be more powerful than a strict timeline.
PRO TIP: When shaping the narrative, think like a reader: What details create tension, curiosity, or emotional connection? What order makes the story most engaging?
Further Reading: “How to create a life timeline for your memoir writing project”

Step 4: Enrich the story with context and details.
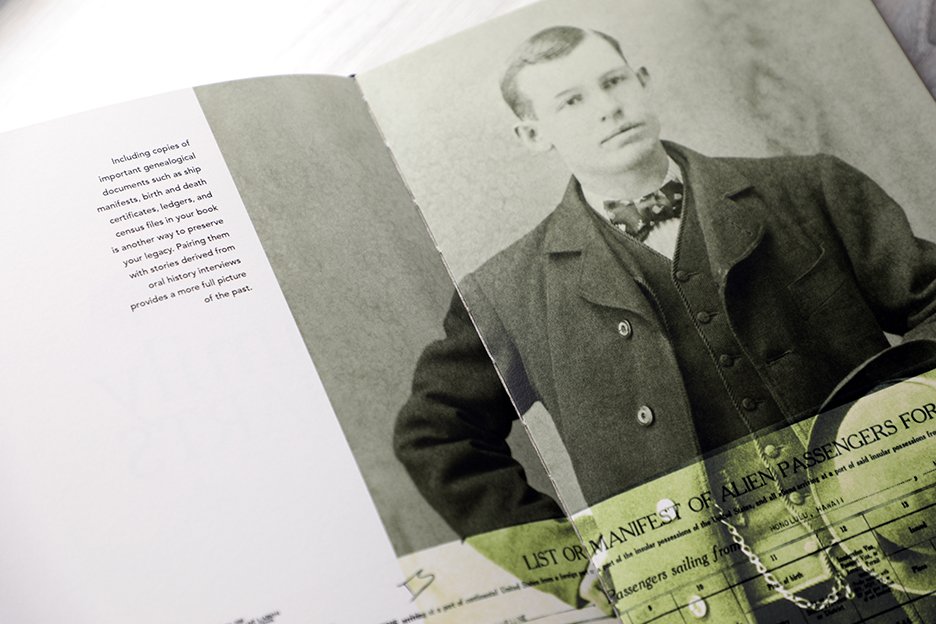
While spoken stories often assume shared understanding, the written version benefits from additional historical context. Future-proof your family history book by doing the following:
Add historical and cultural details. If a relative mentions a significant event, include a brief explanation for future readers. The COVID-19 pandemic is fresh in our minds, for instance, but won’t be immediately known by the next generation.
Describe places and settings. What did their childhood home look like? What was the makeup of the neighborhood where they were raised? Were their schools integrated, religious?
Clearly identify people. Use names rather than just “he” or “she,” and clarify relationships whenever possible to avoid confusion.
Further Reading: “How to edit your family history so it will make sense 20 years from now”
By transforming oral histories into written narratives, you’re creating something lasting—something that can be held, reread, and passed down through generations. It’s a labor of love, but also an act of preservation, ensuring that the voices of the past continue to speak to the future.


Learn how to preserve family stories when firsthand voices are gone. Use archives, photos, and context to honor loved ones and keep memories alive.