
Memories Matter
Featured blog Posts


READ THE LATEST POSTS

Hey, memories! Come out of the closet, will you?
Your memories live in your head and heart, but family photos, heirlooms & mementos sure do call those memories forth—how to use them towards a life story book.

Sorting through your family archive for items for your life story book should be more strategic than organizing everything for posterity.
One of the first steps in any life story project is to begin to gather all the stuff in your family archive.
By that I mean photos, journals, letters, and mementos—the stuff of your life.
Finding and inventorying these items will help you in two ways:
as a tool for helping you prioritize and determine what is worth saving and what can be tossed—and how to plan for tackling the archive as a (separate) organization and preservation project.
as a resource for finding those items that will help tell your stories visually for your life story book project.
That second one is what we are focused on here!
How to organize your family archive as a resource for your life story book
Ready to get started? Using this free chart or a digital spreadsheet, make a list of everywhere your items live.
Remember: This is a guide to preparing your archive specifically as a resource for your life story book! That means yes, you should be focused on items that you want to include visually in your book, but also items that simply spark memories.
What is included in your family archive?
A Family Archive Checklist
physical family photos in boxes, albums, and frames
digital family photos on phones, computers, old disks, social media accounts, and external hard drives
family papers, including genealogy documentation, birth and death certificates, etc.
letters, journals, and diaries
mementos such as ticket stubs, postcards, report cards, scrapbook ephemera
physical family heirlooms such as inherited china, heritage furniture, passed-down jewelry
Finding inspiration and raw material
Back to using your archive as a reference for your life story book: Consider all of the items in your family archive to be raw materials that you can both find inspiration in and use to help tell your stories. A few ways to mine your family archive for this project:
Resources for remembering
Use specific family photos to jog your memories about your childhood.
Use letters and journals to help you recall details and emotions of recorded experiences.
Pull out tickets stubs and other mementos that hold the most meaning and make you feel something strong—they’ll likely be fodder for compelling stories if they hold that much sway.
Consider your genealogical files to be fact-checking resources for names, dates, and relationships that may be fuzzy in your memory.
Materials to reproduce in your book
Photograph family heirlooms so they can be accompanied by their stories in your book, so years from now they won’t be some dusty relics but heirlooms with a storied pedigree.
Select key old photos to digitize for inclusion in your book: Pictures help bring your words to life, but they must be chosen wisely.
Perhaps your handwritten journals evoke your teen years or capture a particularly emotional period in your life: Consider reproducing a key page or paragraphs throughout your book if you think they will add texture and a visual touchstone.
At this point, you should be most concerned with identifying and locating those items that you feel will be most useful to you in your life story project. Make a separate list, and pull out those materials to have on hand. Consider this a separate collection specifically gathered to help you tell your life story.
“When you have finished your appraisal, you’ll be left with a collection of the best and most significant artifacts,” archivist Margot Note writes. “Because you’ll be focusing on the collections that have the most value, you’ll be able to concentrate your efforts on what is most meaningful to you.” Indeed.
Keeping your curated archive on hand
Now that you have a tighter collection of photos, journals, and mementos set aside specifically for your life story project, keep them on hand—as well as the bulk of your family archive that you designated in the beginning.
Just because you set aside a photo initially doesn’t mean it will be the best for spurring memories later on; you may end up going back to those boxes to find another shot, or flipping through a different journal to discover a later recollection.
Be gentle with yourself. There’s no “getting it right”—this is a journey of discovery! Try to be strategic and deliberate while sorting your family archive, and understand that it’s all too easy to get lost in memories and nostalgia while trying to organize. When you realize that’s happening, steer yourself back to the task at hand, and remember: All of this is to provide you with the opportunity to reflect purposefully later on.

Printable Inventory Form
Download our free printable to help you keep track of all your life story project’s visual assets, from family photos to ticket stubs and journals—it’s easy-peasy.
Related reading
I will link to parts two and three in this series when they are posted:
You might also be interested in:
Tackling your whole archive?
If you would like to tackle getting your archive under control, I highly recommend purchasing archivist Margot Note’s book Creating Family Archives: A Step-by-Step Guide to Saving Your Memories for Future Generations. She’ll walk you through how to handle your materials, the best supplies, to buy, and ways to display and share your personal archives. Keep in mind: This is usually a big (and sprawling) project that takes some time to complete, but it is well worth your effort (especially if you have children; as I have written about before, leaving them a mess of family mementos is usually more of a burden than a welcome gift).

How to use photographs as prompts for writing life stories
Use these tips to tell the stories behind your family photos and leave a visual AND narrative history to your children—a gift from the past to the future.
“Your photography is a record of your living, for anyone who really wants to see.” —Paul Strand
If writing a life story book seems overwhelming, write shorter stories from your life using some favorite family photos to jog your memory.
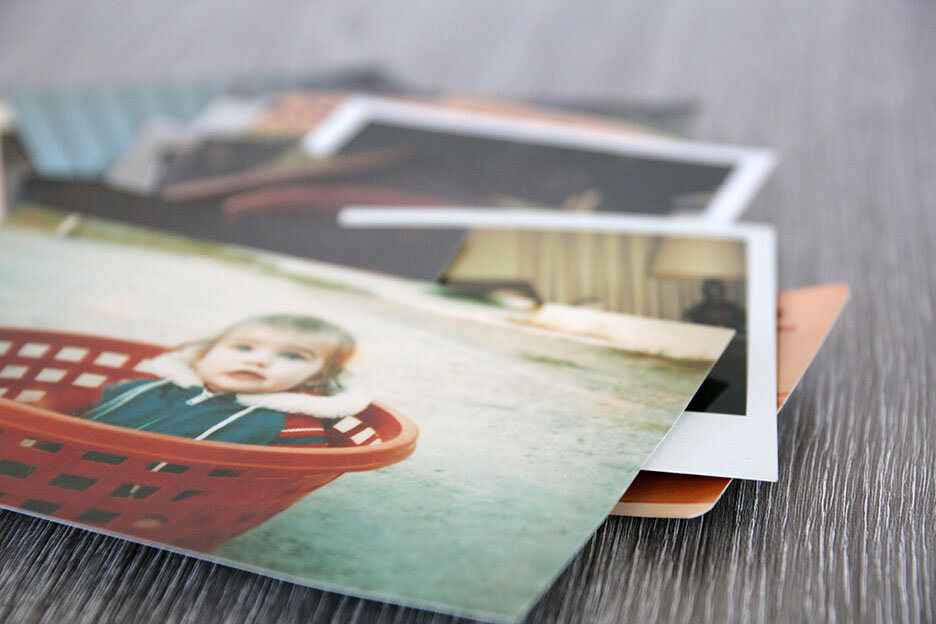
My generation knows the pleasure, both tactile and emotional, of exploring a box of dusty old photographs: the sense of discovery, of time travel, the good fortune of glimpsing our parents as carefree teenagers, of seeing ourselves as Garanimals-clad kids.
But this is becoming a thing of the past. Do you even have a box of photos in your home?
It saddens me to think of our children inheriting a box of old devices (your iphone will be extinct one day, you know!) and wondering how they can access the digital trove of photos they know must be stored within. And they likely won’t be able to retrieve those images, as the technology will have changed by then.
Just as I wish my mother and grandmother had jotted names and dates on the back of their old photos, our kids will one day be wishing we left some clues about our own pictures (metadata, anyone?).
I urge you to go a few steps further, to not only record the details of important photographs, but to elucidate the stories associated with them. To leave a visual AND narrative history to your children, a gift from the past for the future.
How to Shape Your (Small) Life Stories
I’ve written about this before, but it’s worth reiterating: Shorter is often better, especially when it comes to autobiographical writing. That’s why using photos as jumping-off points for your stories can be such an effective method.
Don’t worry about length when you sit down to write. Just choose a photo, and begin sharing. A few initial ideas:
1 - Talk, don’t write.
Pick up a digital recorder (or use the function on your smart phone) and talk into it. Often spoken language is more direct. You won’t get hung up on sentence structure or finding the perfect words. Rather, your language will flow and have a natural rhythm. Your words will be honest and forthright. You can transcribe your recording later.
2 - Find a partner.
Having someone to listen to your story can be a powerful aid. Even if that person doesn’t engage you or ask questions, the very act of listening—an occasional nod, an understanding expression—let’s the speaker know that what they are saying matters. The more you converse with someone about your life stories, the easier it becomes to share them, shape them, and delve even deeper.
3 - Be specific.
Small details. Moments. A focus on life as it is truly lived. Did your mother enjoy a cup of room-temperature tea every night before bed? What did the hand-me-down pajamas you’re wearing in the Christmas-morning picture feel like? It wasn’t just a red car, it was a 1955 crimson Cadillac convertible that your dad referred to as “My Dorado.” This is not to say get lost in the details: Do not go overboard describing every object and movement in your story with multiple modifiers. This is to say that the specificity of the right details brings an era or a person to life in a most vibrant and revealing way. Choose wisely.
4 - Interview you.
If you hadn’t taken the picture, what would you want to know? Make believe you’re interviewing yourself. This is a helpful exercise in making sure the most essential (often obvious to you but not others) elements do not get left out of your story. And then, like HONY’s Stanton, edit, edit, edit: whittle your interview down to the bone, keeping in those details that surprise, delight, enlighten. I suggest waiting at least a day, longer if you have the luxury of time, to do the editing; it’s amazing how such distance enables us to better self-edit.
Let’s get started: Choose a picture, and use it as a prompt to write a life story vignette

Step 1: Look at your chosen photo.
Study it; ignore it. Eat some lunch and let the memories the picture elicits percolate. Now sit down at your computer to free write: Don’t worry about story structure or creating something for an audience, just write from your heart. If you are more comfortable with pen and paper, you might forego sentences altogether and jot down phrases, recollections, adjectives. The key to both approaches, whether stream-of-consciousness writing or brainstorming, is to go fast and to not worry about anything. Just do it.
thumbs up?
You may find that this one photo has stirred a wealth of memories for you to mine. Perhaps it recalls one vibrant scene from your childhood. Consider yourself lucky if either of these is the case! You’ve got the makings of a life story vignette at your fingertips.
thumbs down?
If the photo you’ve chosen reveals nothing more than a string of boring observations, don’t fret. First, go through this list to see if you get anywhere:
What is your personal connection to the photo?
What would you caption the photo (include as much basic factual information as possible, answering Who, What, Why, When?)
Write a question the photo brings to mind.
Write a detailed observation about the photo.
Still boring…? Don’t worry, just move on to the helpful exercise below to get the story behind your photo!
Step 2: Go beyond the frame.
Next, try this exercise from author Beth Kephart, an early assignment she would give to her creative nonfiction students at the University of Pennsylvania, as detailed in her book Handling the Truth:
Study the background of any chosen photograph. Not the foreground, the background. What’s in the picture that you didn’t see when you were snapping? What lies beyond the chosen subject—just to the right or the left? … What does the startle of the once-unnoticed detail suggest to you? What would happen if this small thing—and not the obvious thing, the central thing, the thing easily seized and snatched—was the start of your story?
Still nothing of interest?
Step 3: Enlist Help.
If you are convinced there is a worthy story attached to the photo, show it to a sibling or other relative to see what memories they may have. If you have other pictures from the same period, gaze at those for clues. Maybe it means something to you not for the story it tells, but for the one it does not tell: Who is the subject gazing at? What happened right before the camera was snapped? Who was left out of the moment—was it you? Or was the picture in a frame at your grandparents’ home, and your memory of that is what’s important?
If nothing more reveals itself and yet you are still compelled to include the photograph in your life story, ask yourself, why? Draft a caption that at least puts the image in context, reveals a mystery, or taps an emotion. Then leave it at that, and turn to your next photo. It is likely that after taking this approach with more of your family snapshots, this one will eventually find its way into your narrative or, rightfully, be edited out in favor of others that weave a more textured and colorful tapestry.
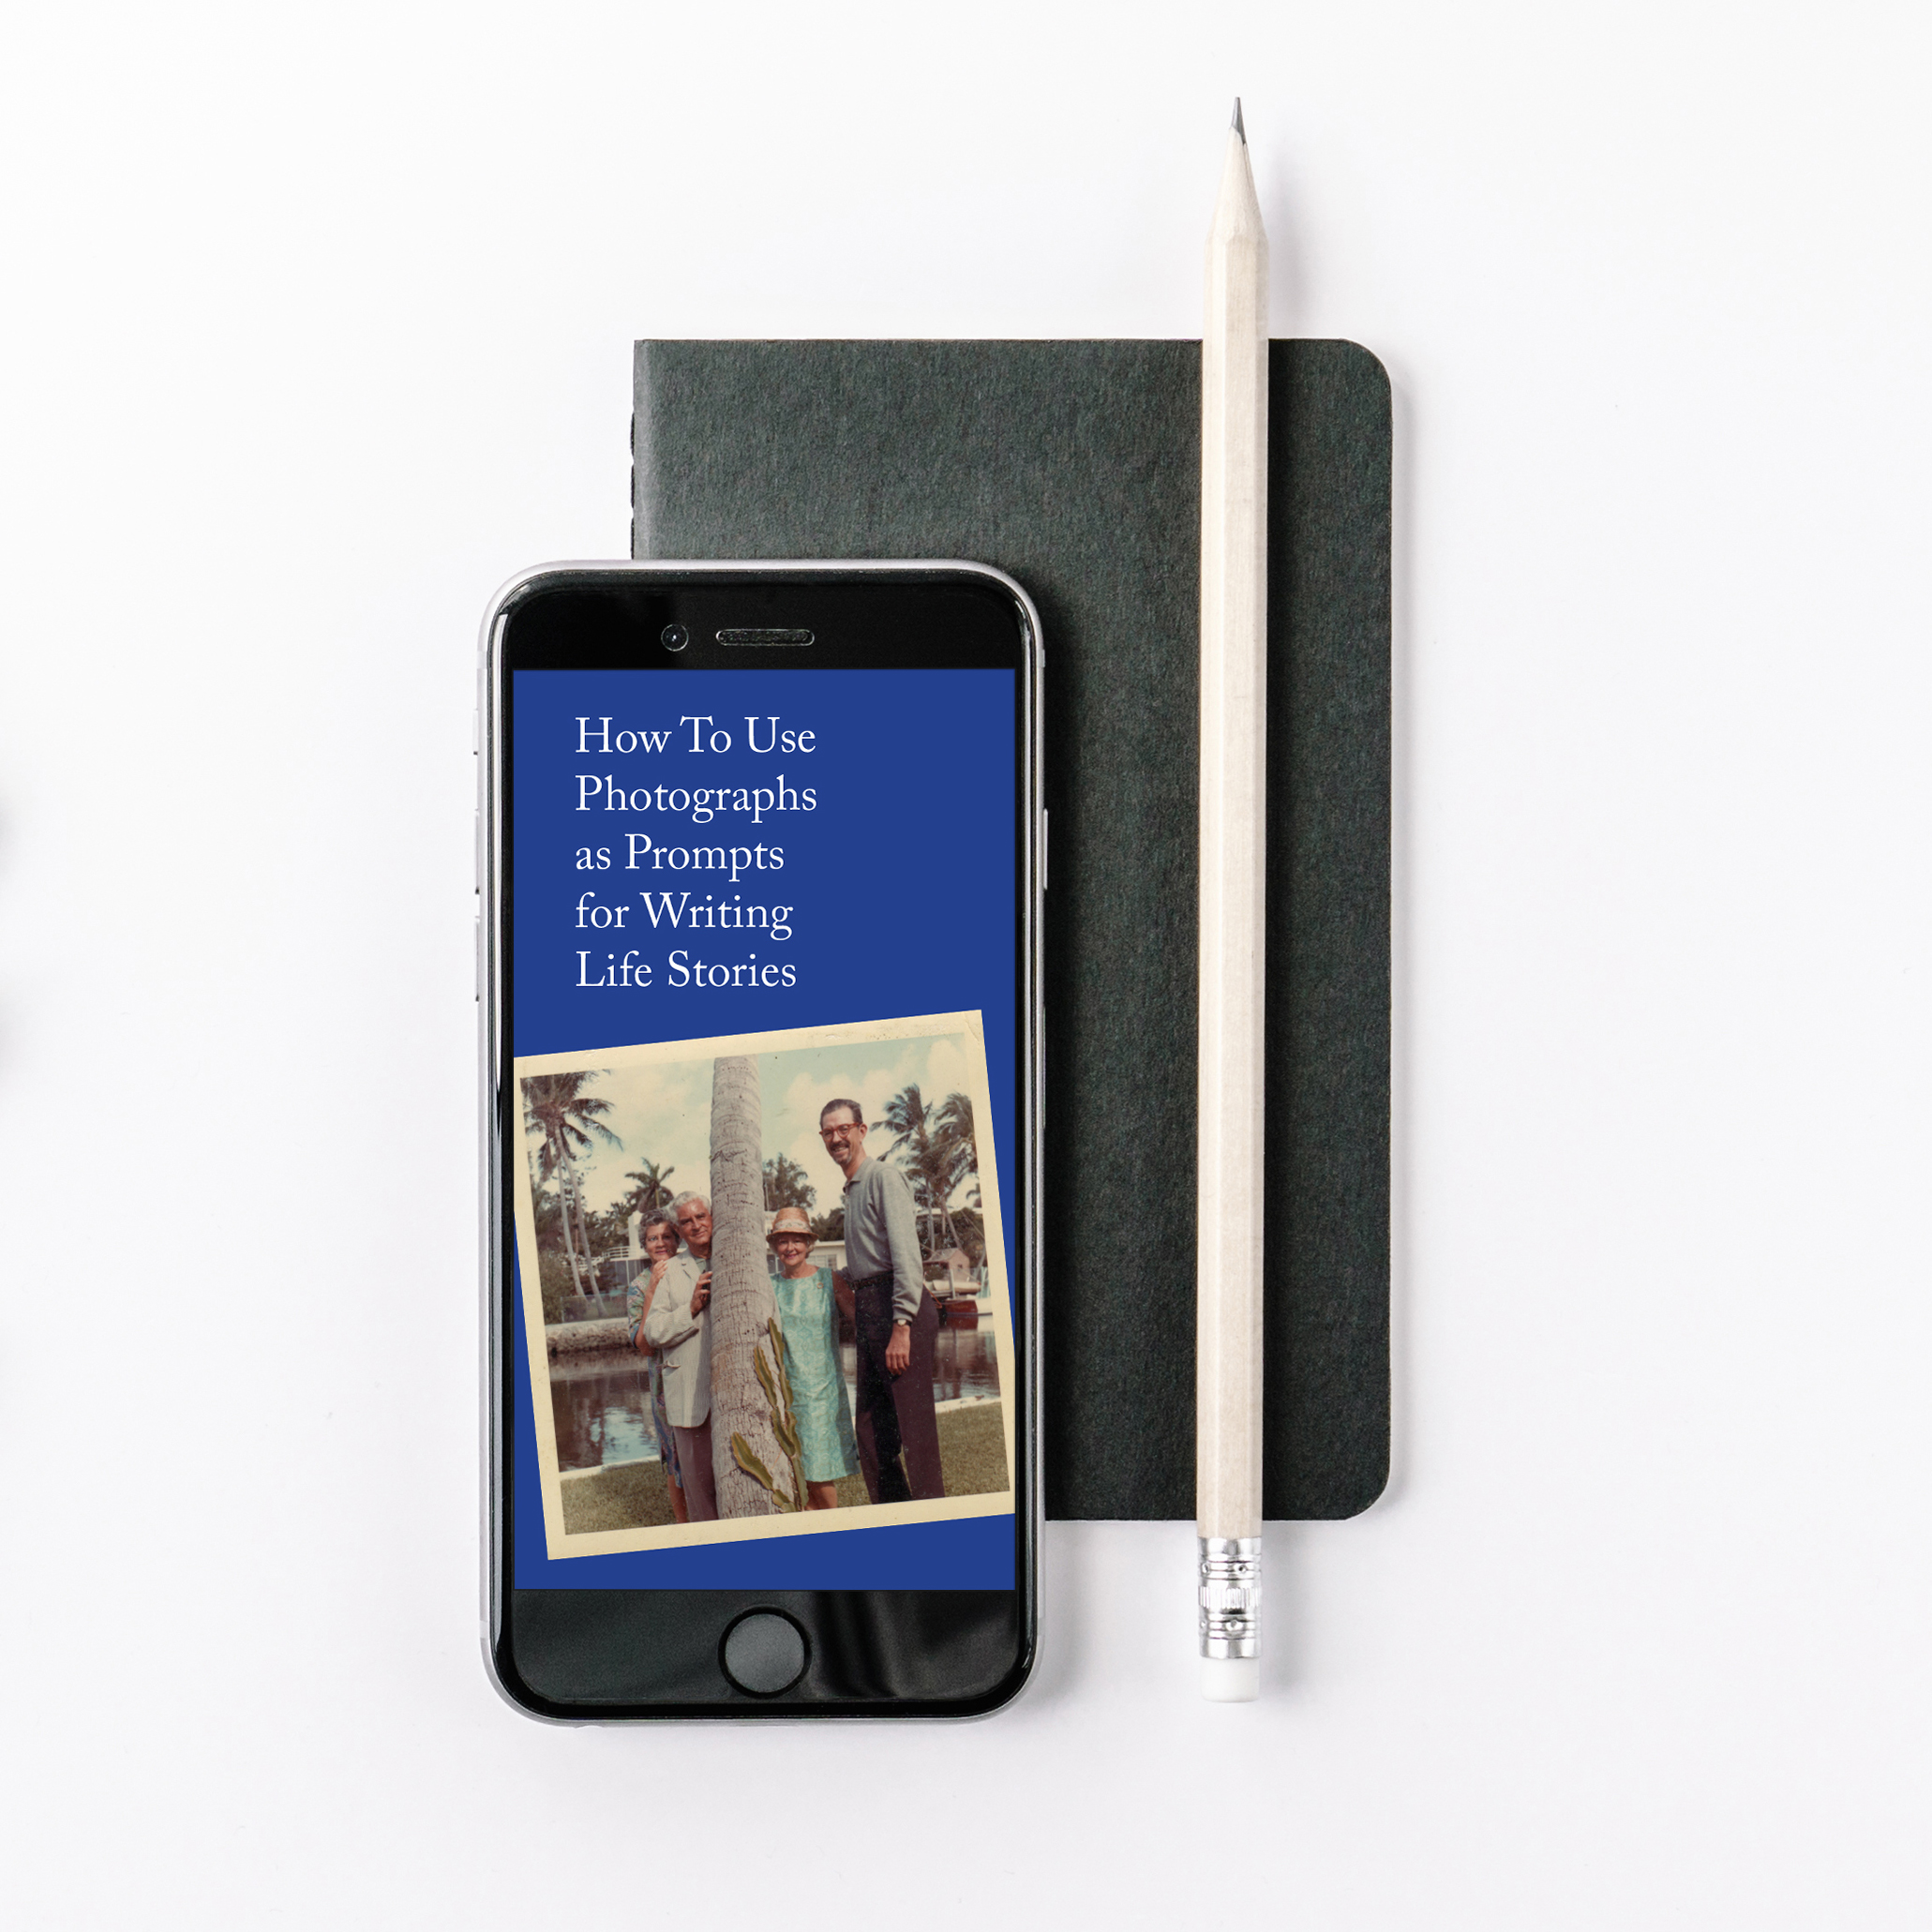
FREE Printable Guide
Download our FREE GUIDE, “How to Use Photographs as Prompts for Writing Life Stories” and get started asap on your journey of preserving your memories!
Next steps, and advice for non-writers
If all of this appeals to you but you’re not a DIYer, that’s what we are here for.
You may want to begin the journey of remembering and selecting photos on your own, using much of the advice provided on the blog—and then hand it over for refining and shaping; our expert editors and designers will transform your memories into a beautiful heirloom that reveals even more than you had imagined.
If you only get as far as piling up those boxes, no worries: We’ll walk you through the whole process! Set up a free consultation to learn how we can work together.