Memories Matter

Featured blog Posts


READ THE LATEST POSTS

Filter by categories
family history, memoir & writing Dawn M. Roode family history, memoir & writing Dawn M. Roode

Preserving audio and video interviews: from recording to storytelling

Learn how to record, transcribe, and store interviews with care. Tips on consent, ethics, and turning audio or video conversations into lasting family stories.

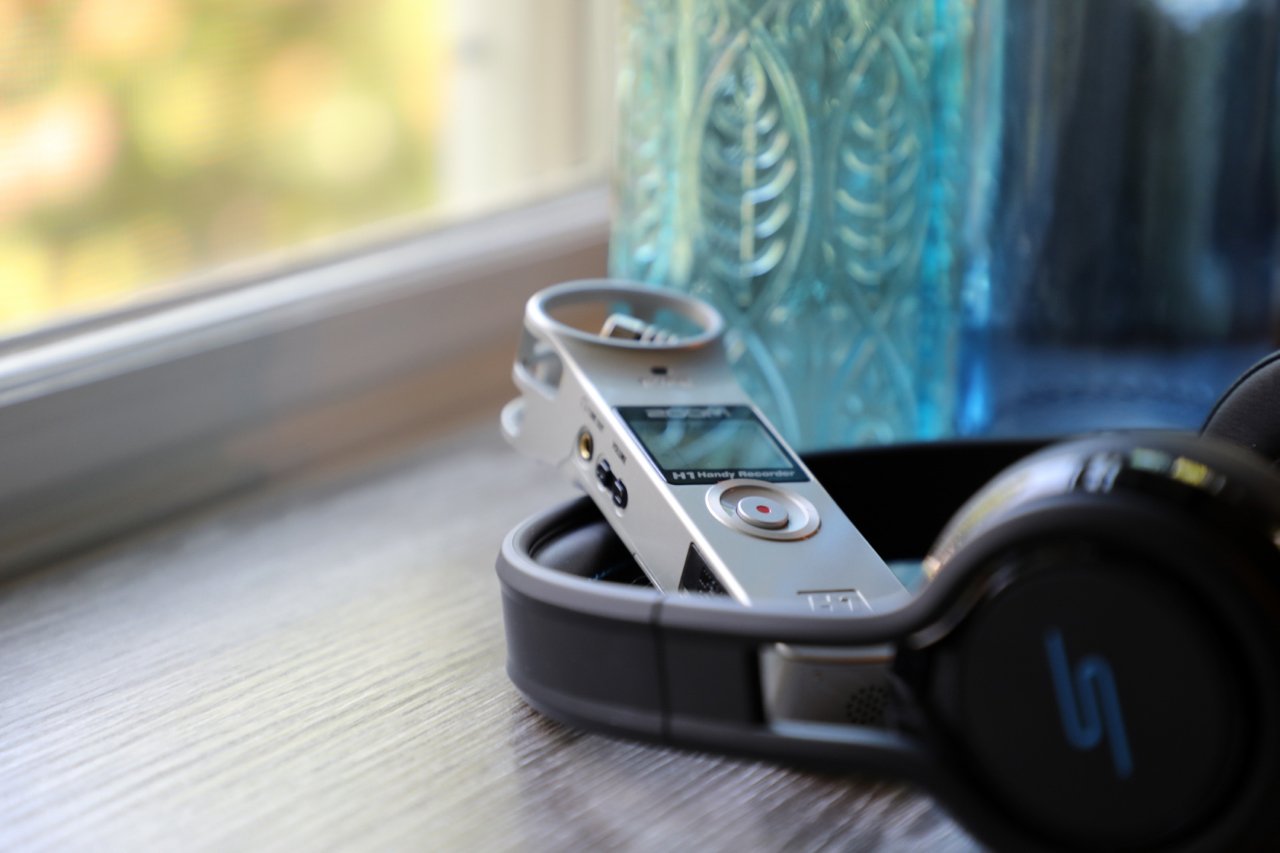
Recording a family history interview is as simple as using a voice recorder on a device such as a tablet or smart phone.

When someone trusts you with their memories—when they sit down in front of a microphone or camera and share their story—you’re holding something precious. But recording a great interview is only the first step. How you handle that recording afterward—from transcription to storage to storytelling—determines whether those memories will endure for years or disappear with a crashed hard drive.

At Modern Heirloom Books, I’ve learned that preserving interviews is as much about care as it is about craft. It’s about listening well, recording responsibly, and treating people’s stories with the respect they deserve.


1. Recording with intention

The technical setup doesn’t have to be fancy, but it does have to be thoughtful.

  1. Choose a quiet space. Avoid kitchens (appliances hum) and large echoey rooms. Soft furnishings, like curtains or carpets, help absorb sound.

  2. Test before you begin. Record 20 seconds of conversation, then play it back. Adjust mic distance, reduce background noise, and double-check your battery or storage levels.

  3. Back up immediately. Save the file to at least two locations—ideally an external drive and a cloud-based service. Name the file clearly (for example: Interview_MiriamRosen_2025-02-10).

  4. Get permission in writing. Always explain how the recording will be used, and have participants consent—especially important for projects you plan to publish or share.

2. Working with older participants

Many of the most meaningful stories come from older generations—but that also means being sensitive to energy, comfort, and pacing.

  • Keep sessions short. One hour is usually enough. Fatigue affects memory recall.

  • Be patient with pauses. Silence often signals deep thought; don’t rush to fill it.

  • Bring visual prompts. A photo, newspaper clipping, or memento can help unlock memories.

  • Check the environment. Good lighting, a comfortable chair, and room temperature matter more than you think.

3. Ethical considerations and consent

When you record someone’s story, you become its steward. Handle that role with transparency.

  • Explain purpose and scope. Let them know whether the recording is for personal use, publication, or archival storage.

  • Clarify ownership. If possible, have a signed release stating who retains rights to the recording. (At Modern Heirloom Books, the storyteller always does.)

  • Honor boundaries. If someone asks for a section to be edited or omitted later, do it—no questions asked.

  • Protect privacy. Store sensitive recordings securely, and think carefully before sharing publicly.

4. Transcribing the conversation

Transcription is where the raw story begins to take shape. While automated tools like Otter.ai, Descript, Zoom, or ChatGPT can help, always review manually to correct errors—especially names, dates, and emotional nuance.

A few tips:

  • Timestamp key moments. It’s helpful when you later want to pull quotes.

  • Note tone and pauses. A soft laugh or a long silence can carry emotional weight.

  • Respect voice. Don’t over-edit for grammar; people’s natural rhythms make transcripts human.

  • Read aloud. If you’re planning to turn the interview into a narrative piece, read the transcript out loud. You’ll hear the music of their speech—and know which parts to keep verbatim.

5. Storing for the long term

Digital storage is fragile. Protecting your files now ensures they’ll still exist when future generations go looking.

  • Triple backup. Keep at least one local copy (external hard drive) and two cloud-based backups (like Google Drive and Dropbox, or an archival service such as Backblaze).

  • Name files consistently. Use clear labels: Lastname_Firstname_Interview_Date.

  • Store metadata. Keep a simple spreadsheet noting who was interviewed, when, by whom, and where. If you want to go a step further, include key phrases (many transcription software programs now use AI to help with this).

  • Create a preservation plan. Every few years, check your file formats and transfer them to updated storage—don’t leave them on aging technology. I recommend adding an annual reminder in your calendar for this task, as it’s otherwise likely to fall by the wayside.

6. Turning transcripts into stories

Once transcribed, interviews become rich material for narrative. But they shouldn’t be copied wholesale. Instead:

  • Look for patterns. Repeated phrases, values, or memories often form a natural thread.

  • Preserve voice. Keep their expressions and rhythms, even if you edit for flow.

  • Add historical context. Ground their experiences in time and place—what was happening around them.

  • Share drafts when possible. Let the storyteller (or their family) review before publishing; it builds trust and ensures accuracy.


Resources for further guidance

If you’d like to explore best practices in oral history and ethical recording, these organizations are invaluable:


Preserving a recorded story is both a privilege and a responsibility. Technology gives us incredible tools—but it’s the human care behind them that matters most.

When you record a voice, you’re capturing not just sound but presence: the laughter between sentences, the breath before a memory, the emotion carried in a pause. Those moments are what future generations will remember—not just what was said, but who was speaking.


Up next…

Once your interview is recorded and safely stored, the next step is bringing it to life. In Part Two, I share three creative ways to transform a raw conversation into a lasting family story.

 
Read More
family history, memoir & writing Dawn M. Roode family history, memoir & writing Dawn M. Roode

Storytelling hack: Talk, don’t write.

Do you want to write your memoir but don't consider yourself a writer? Don't worry, there's another—easier—way to preserve them. Speak your life stories aloud.

Telling your stories out loud and recording them is a great option if you want to preserve your personal history but don’t feel comfortable writing.


Have you thought about writing your life story—but then refrained because you don’t think you’re a good enough writer?

I’ve got three important things to say to you:

  1. You are good enough.

    Sure, you may want to take a virtual writing course or hire a memoir coach to help you improve your writing, or read one of these valuable books with life writing guidance. But know this: You don’t have to. You don’t need to strive to write a bestseller; rather, focus on reflecting back on your experiences, finding the lessons, the love, the joy, and the hardships, and sharing them with those you love. Whatever you write will be more than good enough—for you (you do know that writing your memoir is beneficial for YOU, right?), and for any family members you would like to leave your stories to. So write on—please!

  2. Don’t change your voice.

    Your memoir should sound like you: the way you talk, the way you weave a tale. It should reflect your values and your experiences. “There’s power in allowing yourself to be known and heard, in owning your unique story, in using your authentic voice,” Michelle Obama has written. “And there’s grace in being willing to know and hear others.” So don’t focus on sounding writerly or clever, and don’t edit out those colloquial phrases you say often. Focus instead on being authentic and truthful, and allowing yourself to be vulnerable as you tell your stories.

  3. Drop your pen and pick up a recorder.

    The blank page before you is just a vehicle. If you are paralyzed by the thought of writing your life stories, drop your pen (or step away from your keyboard) and instead begin recording your stories out loud. All you need is the voice recorder app on your smart phone or a digital recorder, a quiet space, and some time. I recommend either brainstorming a list of memories or creating a life timeline beforehand, so you can reference these and feel inspired to tell your tales. Then hit “record” and start talking. Maybe do this once a week, or every morning (setting some kind of regular schedule will help you finish one day!). Down the road you can transcribe these oral histories and maybe edit them into something more cohesive and inspiring. But for now all you need to do is (a) get started and (b) keep talking!


“Story is the umbilical cord that connects us to the past, present, and future. Family,” Terry Tempest Williams says. “Story is a relationship between the teller and the listener, a responsibility…. Story is an affirmation of our ties to one another.”

Your story, moreover, is a gift.

I’m sure you’ve heard the expression “done is better than perfect,” and oh how applicable that is here! Whether you write your stories or speak into a recorder, the end result will be a gift to your family. One day in the future, one of your descendants will read your words and be grateful you took the time to preserve them. How powerful is that?


Read More
