
Memories Matter
Featured blog Posts

READ THE LATEST POSTS

How to create a vacation photo book or travel journal: Part 2
You've just returned from a family trip and know you want to make a travel memory book—just not right now! Follow these easy steps so you'll be ready later.
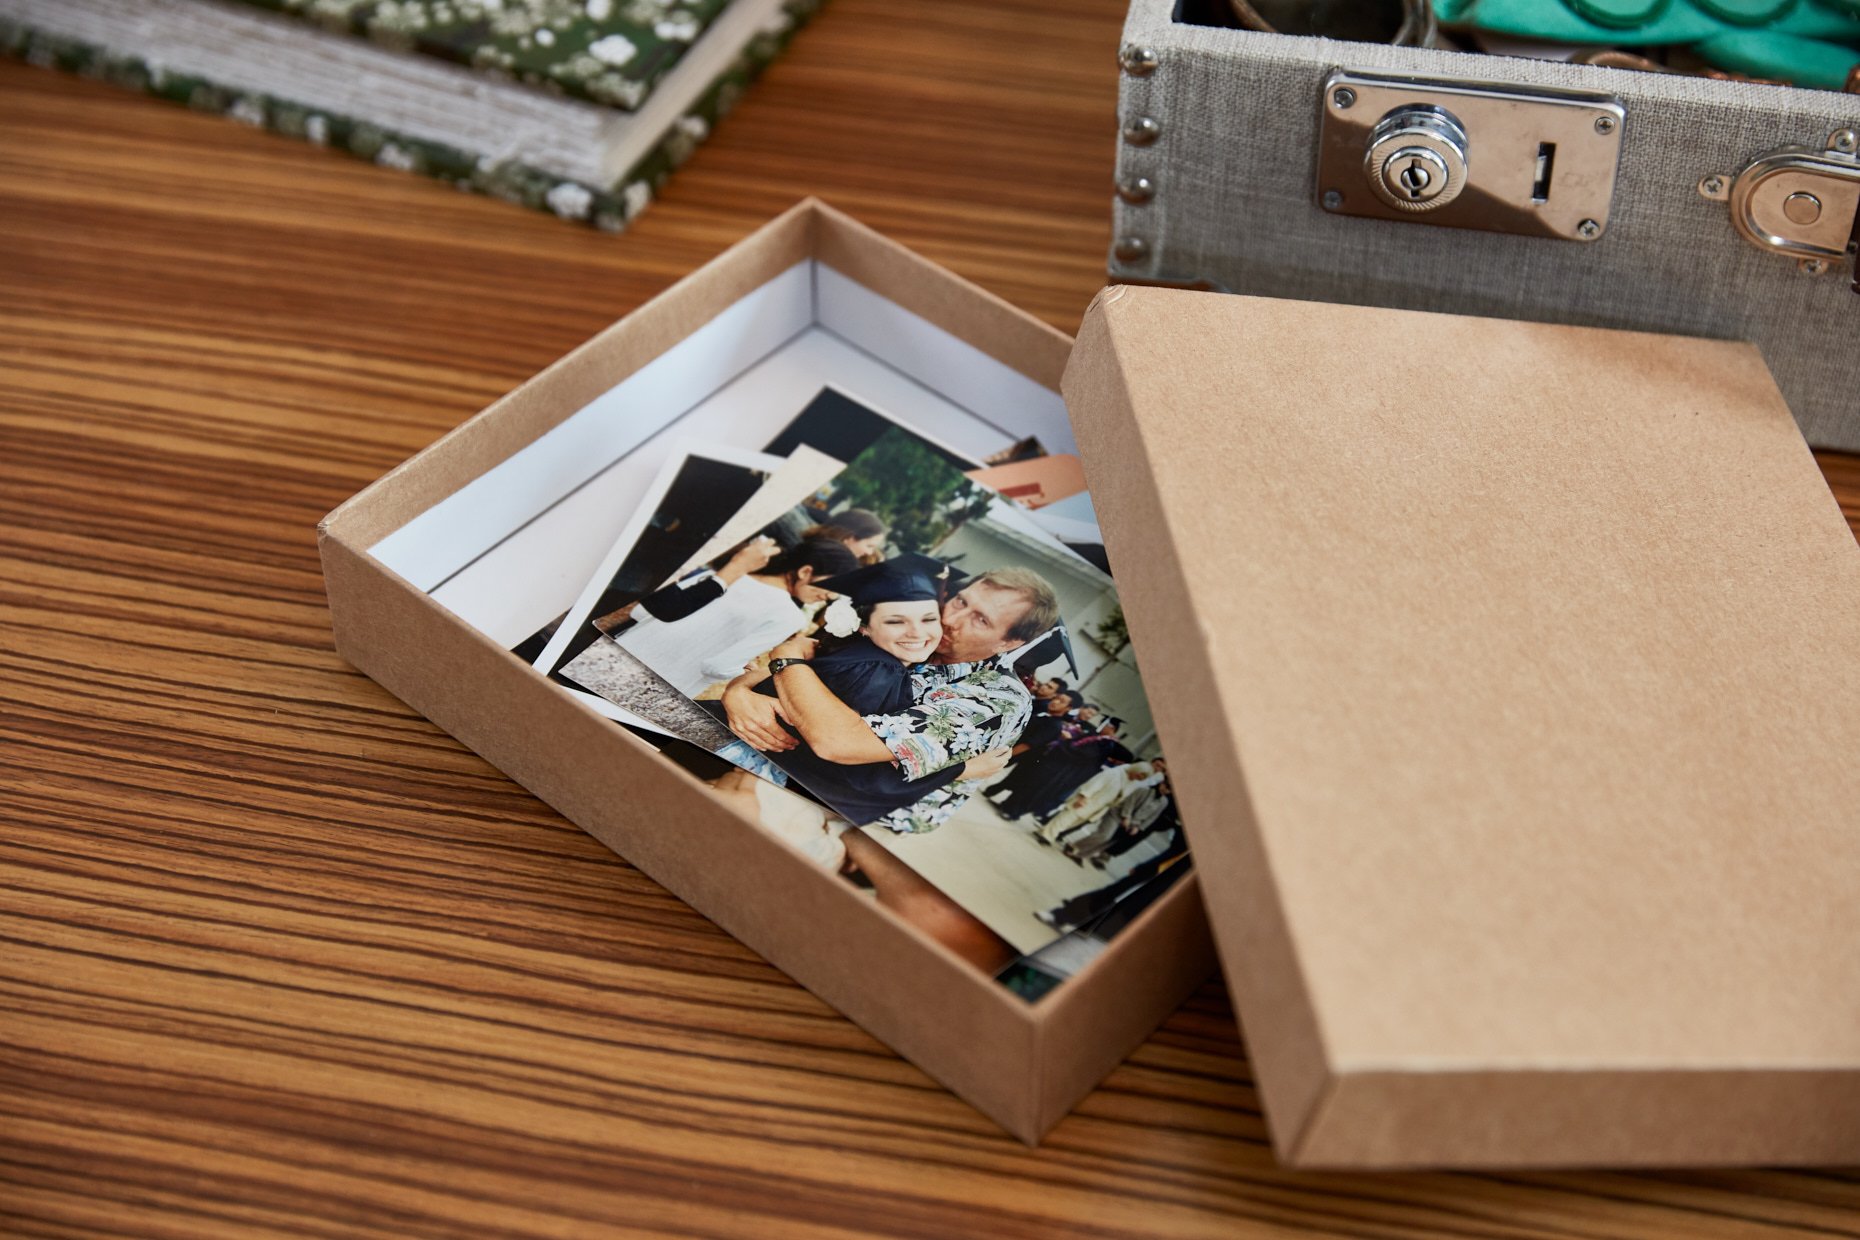
Organizing photos before you sit down to design your travel memory book will make life soooooo much easier!
Recently I shared Part One of this two-part blog about how to create a vacation photo book or travel journal, in which I shared tips for things you could do during your trip to make your memory-keeping project easier later. Here, in Part Two, I am sharing ways you can streamline your book creation after your trip.
Taking these steps will ensure that when you finally sit down to write and design your travel memory book, you’ll have everything you need conveniently at hand.
Do these things shortly after you return from your vacation to set you up for bookmaking success:
1 - Consolidate all your photos in one place.
Download all photos from smart phones and cameras and collect them in one digital space. I use a solid-state external hard drive that I back up regularly to the cloud for this purpose.
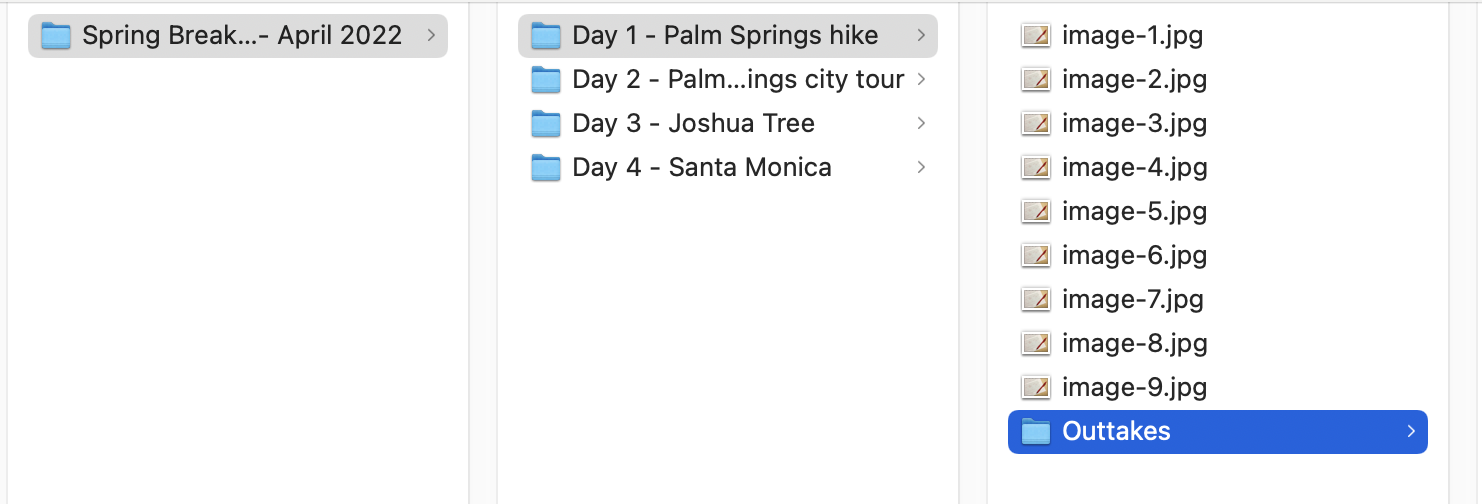
Here is a simple folder structure that works great for organizing vacation photos:
01 DAY 1 - Arrive in Rome
02 DAY 2 - Drive to Pienza + Easter dinner
03 DAY 3 - Winery tour + Tuscany exploration
04 DAY 4 - Vespas in Chianti
…etc.
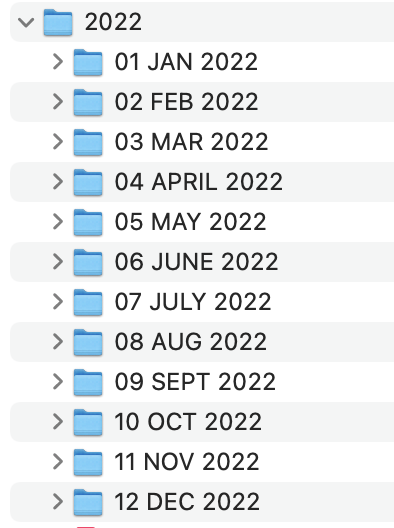
The two-digit introductory numbers at the start of each folder name ensure that the folders will stay in the correct order. I do something similar when organizing photos for my annual photo books:
01 JAN 2023
02 FEB 2023
03 MAR 2023
…etc.
Then, within each of these folders, you can organize your photos into subfolders by theme or subject.
You may also want to create separate folders for images you download from each family member’s phone—that way you can quickly scan for duplicates and know who took each shot. (I recommend gathering these images from everyone’s phone shortly after you return from your vacation—while you may save all those pictures indefinitely, other family members may be more keen to free up digital space, and you don’t want to risk losing their pictures!)
Seem like a lot of work? Trust me, using a smart digital filing system to organize your photos in advance of making your book is way easier than trying to find photos amidst the thousand you took WHILE you are creating that book (a nightmare!!).
2 - Select your favorite photos.
For this one, I generally suggest waiting at least two or three weeks before reviewing your photos with an eye for curation. This emotional and temporal distance will give you a better perspective and allow you to more easily cut photos from your book and select the ones that best tell the story you’d like to tell.
How you mark favorites will depend upon how you store your photos. You may be starring your faves in software such as Google Photos or Lightroom. If you are physically moving your selected digital photos into a folder on your computer, I recommend creating a folder within each thematic folder called OUTTAKES and moving photos you are NOT using there. That way your photo organization system is still in place. And it’s way easier to eliminate photos as you go than to know immediately which images qualify as must-haves!
Don’t stress about this step. Focus on:
choosing the best shot from the multiple you have taken of each part of your trip
giving yourself options for later—who knows, you may want that horizontal shot to be enlarged across a whole spread…but then again, the vertical version may be just right as a section opener!
finding a balance of personality-driven photos (your kids grimacing over a plate of vegetables at your preferred restaurant, say) with gorgeous scenery; of candid shots with stiff posed ones; of color with black-and-white
choosing photos that make you smile and that trigger your memories.
3 - Photograph or scan ephemera or souvenirs.
All those ticket stubs, maps, and random notes that you collected on your travels? Now’s the time to go through them with an eye for what will look good on the page and add visual interest to your photo book.
A ticket stub from a museum that has a Michelangelo sculpture printed on it is much more appealing than an unidentified stub with just text. A train ticket that shows your mileage traveled across Europe is far more compelling than one that simply lists a destination. A receipt that shows the ridiculously cheap price you paid a local villager in the Philippines for your sisal bag may be worthy of inclusion, but forget about most receipts in general.
I recommend scanning all of your paper souvenirs on a flatbed scanner (many home printers with a photocopying function can also scan nowadays, too). Set your parameters to scan full-color, 300dpi, at 100-percent size—this way, you’ll most likely avoid pesky moire patterns when scanning pre-printed materials, and when you place them in your design software, they will run at their actual size (if you create shadows beneath these images, the tickets or other ephemera will look like they are sitting atop your photo book pages, a very cool effect!).
If you don’t have access to a scanner, there are plenty of smart phone apps that can do the job of capturing these small items for print. Check out Google Photo Scan or Photomyne; these free apps enable you to use your phone’s camera to “scan” your souvenirs for use in your travel journal.
Yay! You’re ready to gather all those notes you took while on vacation (which we talked about in Part 1) and sit down to begin creating your travel book. Whether you choose to print photos to place in a good old photo album (my favorite smaller-size ones are from Project Memory, while great larger, archival photo albums are available from Kolo) or design and print a more full-fledged travel book (with written memories and reflections, of course!), you’ve now got everything you need to begin…and finish…your vacation memory book. Happy travels!!
If you prefer to hand over your keepsakes, photos, and travel journal to have a travel book professionally produced, please reach out to see how we could work together.


How to create a vacation photo book or travel journal: Part 1
Want to make creating a travel book easy when you return from your family vacation? Follow these steps for easier—and elevated—post-trip memory-keeping.
Postcards are waning in popularity, but you may still find some cool vintage or artistic designs on your travels that would make great additions to your travelogue.
Do you have the best of memory-keeping intentions when you travel, only to find your photos stranded on social media and your collected souvenirs stuffed away in a box? No—don’t let that happen to you! Follow these simple steps to help you gather all the right elements during your trip so you can easily put together a photo book or travel journal when you get back home. A little planning goes a long way.
Do these things during your trip to make creating your travel memory book a cinch later:
1 - Take notes over the course of your travels.
By ‘notes’ I mean anything that will help you tell the story of your trip (in the moment you can’t imagine ever forgetting a single detail, but I promise you will!). A few possible notes include:
reference photos—as you head into a venue or city, snap a reference picture of a sign that will orient you as to your location later
handwritten jottings—of everything from tour guide names to the restaurant your family fell in love with
printed ephemera—anything from the article you tore out of the in-flight magazine to a hotel brochure or museum ticket; you won’t necessarily keep all of these, but you will use them to fill in details when writing about your trip later.
a thorough travelogue—not everyone will want to do this (I admit I often have good intentions and then never get to it, especially since I became a mother), but writing about your trip in a journal as it happens can be not only a wonderful way to reflect on your time in a place but also to preserve memories to revisit later.

If I hadn’t snapped a photo of a nearby street sign before I took this shot of dramatic light on a picturesque church, I would never have known what Tuscany town this was from!
2 - Collect some items to add local texture to your book later.

Travel passes, museum ticket stubs, and other ephemera from your trip can be fun additions to your memory book when used in moderation.
There’s no need to buy a hundred postcards or tchotchkes, but selecting a few items that you can scan or photograph when you get home will add great visual interest to your travel book. Some favorite items I have collected on various family trips include:
matchbooks (especially from favorite restaurants or hotels)
stickers (especially these days, sticker designs are often way cooler than postcards!)
simple vendor bags (sometimes a shopping bag or even a small paper bag a vendor slips your gum into may have interesting graphics, like one I got in Florence with a fleur-de-lis pattern)
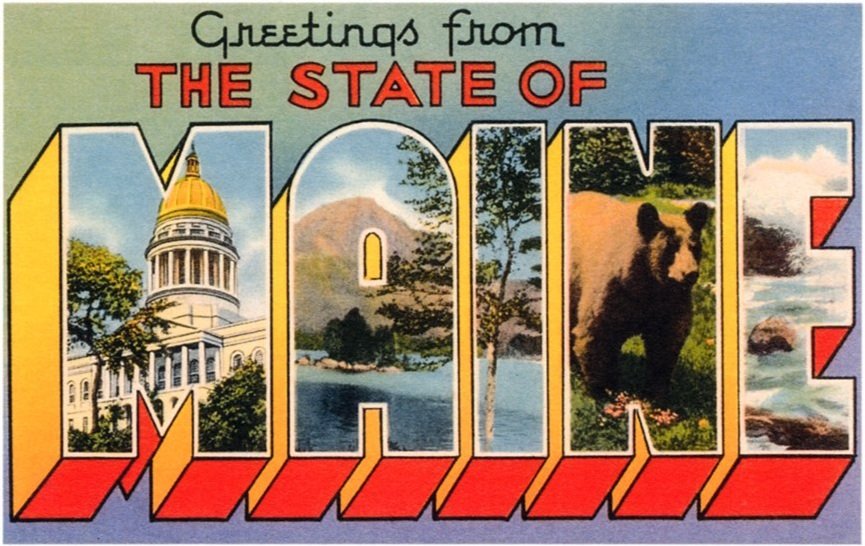
vintage postcards (I try to buy one of those “Greetings from…” postcards in every city I visit, but they’re getting harder and harder to find; I do seek out illustrated postcards, though, as they often have an artistic or nostalgic vibe I like)
local maps (I’m talking both the kitschy maps marking destinations of interest to tourists as well as beautifully rendered ones often sold in shops)
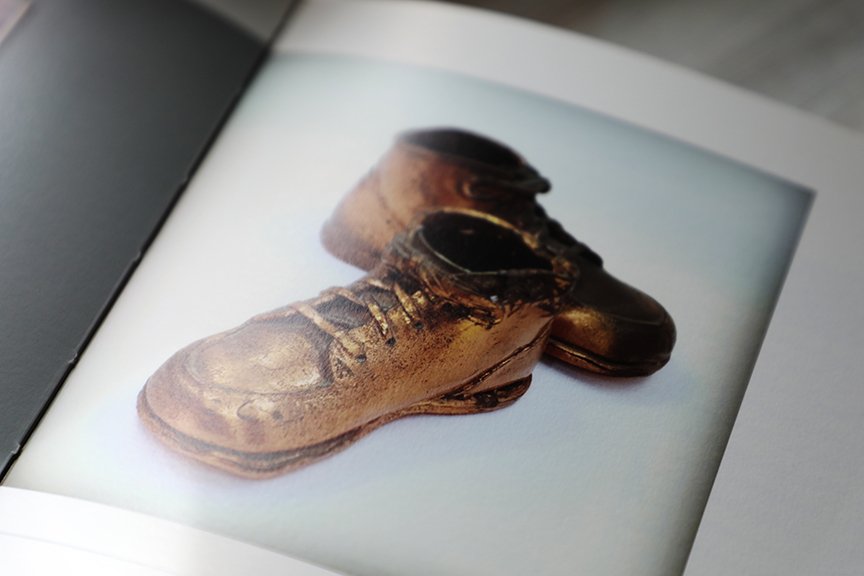
3 - Take unexpected photographs, too.

Yes, of course snap the famous landmarks and get some group shots of your family posing in beautiful locales, but remember to also take pictures of less expected details, such as:

Detail photographs can add wonderful personality to the pages of your travel book. This bin of corks caught my attention on a winery tour not only because they have great texture, but because they say the name of the winery. And these cacti in bronzed shoes in Montepulciano—well, they’re just fun!
candid photos of your traveling party
fun selfies when the mood strikes
photo booth strips—admittedly, I am a sucker for these nostalgic gems which invite goofy faces and extreme togetherness (ever tried to squeeze more than four people into one of those booths?!)
details, details, details—on my recent Italy trip, for instance, I aimed my camera at wonderfully whimsical street art in both Florence and Rome; ancient bricks and walkways (ah, what texture!!); wrought-iron filigree designs; and even a few t-shirt slogans that resonated.
In Part Two I share next steps: what to do with all your photos, ticket stubs, and travel notes upon your return to make book creation a cinch!
If you’d rather hand over all your travel goodies to have your travel memory book professionally produced, please reach out to see how we can work together.