
Memories Matter
Featured blog Posts
READ THE LATEST POSTS

The index card solution to family history preservation
Want to organize your family history archive? This cheap, convenient solution is a great way to record your stories until you’re ready to move them into a book.
Don’t worry, you won’t need a library’s worth of card catalog drawers for your family history records—a simple recipe box (or two) should do!
I’m all about books—I’ve got stacks of them all over my office, my bedroom, my kitchen; I turn to them for escape and for knowledge, for catharsis and for fun; and I write, edit, and design books for a living. But I know that sometimes creating a book may not be the best choice for a specific memory-keeping challenge. That’s where recipe card boxes come in.
Over the many years I have been advising clients on how to turn their family stories into lasting legacy books, I have found a few common occasions when the time is simply not right (yet!) to commit to book publication. In the three scenarios that follow, I suggest buying a simple recipe card box and some blank index cards that will fit within—then using those (easily changeable, inexpensive, convenient) cards to record your stories until you’re ready to move them into a book. (Oh, and even if you find you never get to that ‘ready’ stage, you’ll still have preserved a great deal of your family history in an accessible format…and who knows, someone in the next generation just may take up the challenge of continuing your research and one day creating an heirloom book!)
Three memory-keeping occasions when recipe cards (a.k.a., index cards) are a great tool:
MEMORIES
You want to capture memories for your children in real time.
Are you regularly sharing tidbits about your new baby on Facebook or Instagram? Do you tell stories about your grade-schooler to your mom during weekly phone calls? Do you wish you had created annual family albums for your kids’ earlier years, but never found the time? It’s never too late to start recording family memories—and it’s easiest when you write those micro memories down as they happen!
How to record family memories in a recipe box:
Keep a pen and a stash of blank recipe cards in convenient locations—your bag, your bedroom nightstand, a kitchen drawer—so that they’re always on hand when you need them.
When your child says something laugh-out-loud funny or wise beyond their years, when they achieve something they’re proud of or try something new, jot it down on a card. Be especially conscious of capturing catch-phrases that characterize a certain age, or things that make you smile every.single.time!
If you have a tendency to share these things in real time on your Instagram stories or other social media platform, take a screenshot of the shared memory, print it out, and tape onto a blank index card.
Whenever you can, make physical prints of favorite photos: Ideally, print them at the same size as your index cards so they can be stored behind the memory card it goes with, or print smaller and adhere to a card with a handwritten memory on the reverse.
Use dividers to label months and year, or perhaps have a divider for each of your children—whatever organizational system makes the most sense for you.
Consider asking your kid(s) to contribute something once in a while—maybe they write how they’re feeling on the first day of every school year, or what they hope for on each birthday. Preserving their handwriting in this way is priceless!
Future uses: These memory cards will become not only a cherished family heirloom, but they’ll be resources for you to easily create meaningful gifts in years to come—think a photo montage at their high school graduation, or a memory book on the occasion of their wedding. You may want to use them as memory prompts for YOU to write a book one day, or maybe you’ll digitize them for yourself then tie a ribbon around the box to gift to your child when they buy their first home!
HEIRLOOMS
You want to record the stories of your heirlooms, but can’t undertake a big new project.
Instead, jot down a list of all the heirlooms you hold dear, then tackle writing down their provenance one by one when you have time. That first index card will be like a checklist (that you can add to any time you want!). Each subsequent card will include
a photo of the heirloom
a physical description
who it belonged to (including originally and over the years)
approximate year it came into your family
any associated stories or details that make it meaningful.
You may end up writing about one heirloom per month, or completing a flurry of them at once and then not again for a while—go at your own pace!
Future uses: You may want to one day design a book of all your heirlooms (or have a professional book designer create one for you), in which case you’ll have everything you need in one place. Alternately, as you downsize or simply gift items to loved ones and friends, you may hand them the card that goes with their heirloom—voilà, origin story complete.
RECIPES
You are working towards a heritage cookbook—‘towards’ being the operative word.
Sure, this one may seem obvious (recipe cards in a recipe box!!)…but I encourage you to be more intentional than one might normally be when jotting down recipes. You may recognize your mom’s scribbles, or your grandmother’s shorthand, but the next generation may not. As you cook each recipe, look over what’s written and ask yourself:
Is each ingredient amount clear?
Is cook time accurate?
Have I changed something since I originally began cooking this?
Do we always use a certain brand of an ingredient?
Are there other things worth noting—that you often double the recipe and freeze half, say, or that It can be modified if using fresh rather than canned vegetables?
Examples: Grandma may have used shortening, Mom preferred margarine, and you now use butter; “cook until browned” is only helpful if you have a general idea of cook time, so be more explicit for future recipe readers—“cook approximately 20 minutes, until browned”; “syrup” may obviously denote dark maple syrup to you, but being specific is the key to a foolproof recipe.
A few tips for recipe testing:
I recommend having a single divider in your box—the ones in front have not yet been tested (and marked up), while the ones in back have been.
It can be helpful to cook the recipes with another family member or friend who isn’t familiar with the process to make sure you answer questions that can crop up. (Bonus? Way more fun!)
Definitely write down more than just the recipe—include that “this was Jennifer’s favorite lunch in kindergarten” or that “we’ve been baking this bread every Easter since 1896.” Capturing the stories behind your family’s favorite foods will make this box/eventual cookbook all the more special!
Future uses: You can easily copy recipe cards to gift to your kids when they move out, or compile them in a heritage cookbook that’s professionally printed and bound and distribute among family members.

One instance where I thought index cards might be useful but have since changed my mind: for organizing genealogy materials. Whether you are in the early stages of your genealogy research or just addicted to learning more and more about your ancestors’ lives, every family historian knows their work is never done. It’s the most common reason I hear for why people aren’t ready to create a family history book. I get it! But while using an index card filing system may seem like an elegant solution to organizing lots of changing data, the cards’ small size is too restrictive. Click here for some expert guidance on organizing your genealogical information, click here for some best practices, and click here for ways you CAN use index cards as a handy reference for your ancestry research.










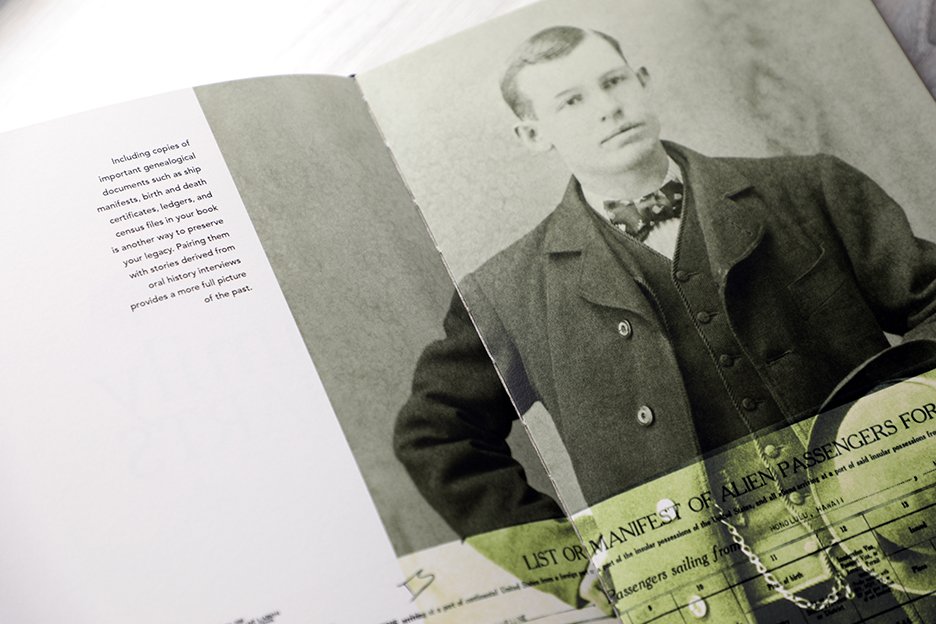


One phone call at a time: Family history in disguise
No interest in family history? What if I told you there would be no research involved, no libraries, no family trees—just spoken stories? From mom, from dad?
Having intentional phone conversations with a loved one is a fun and meaningful way to begin to document your family history.
There are people who love spending hours at a time buried deep in the archives of a town’s historical society, scrolling old microfiches at the library, and refining their web search terms relentlessly to uncover a single detail about an ancestor they’ve never met. And then there are people who, well, don’t.
If you fall in the ‘don’t love that’ camp, does that mean you’re a family history hater? No!! Decisively, the answer is “no!”
Do you laugh at stories your dad tells about his childhood? Do you get a funny, nostalgic feeling in your tummy when someone pulls out an old photo album overflowing with memories? Do you hope to one day be able to make your Nana’s lasagna as good as she does? Yes? Of course, you answered “yes!”
There are two big parts to a family’s history—the way-back history detailing your ancestors’ names, birth dates, and (hopefully) their stories, gotten through research (chances are you haven’t met most of these folks); and the current family history of you and your kin, gotten through first-person accounts (from living relatives). Looking back and reconnecting with our roots through research has great power, and I wholly advocate for recording your ancestry in this way (watch an episode of Finding Your Roots on PBS to see just how moving it can be!). But if you’re not into sleuthing, or you simply don’t have the time, you can still focus on recording your CURRENT family history.
Why? Well, for one thing, you’ll be handing a gift to your children and their children: the family history of their closest relatives for them to learn from, to be inspired by, and maybe, to build upon (who knows, that research-loving gene may have skipped a generation!). For another thing, you’ll be doing this for YOU: to take some time to intentionally reflect on the journey you have taken to becoming who you are; to better get to know your parents and grandparents so you can see them as individuals (with all the heartbreak, love, challenges, and joys that come with that); and to cement meaningful connections with your loved ones.
And guess what? It’s as easy as picking up the phone and talking. Sure, you can get together and chat over cups of tea, or talk about family stories in group settings, too, but purposefully devoting an entire hourlong phone call to sharing family history is better. It allows you to easily schedule these talks regularly and ensure you have enough time for story gathering. It allows two people—a questioner and a storyteller—to really tune in to one another, and to go deep. It allows for easy audio recording.
An unexpected bonus of having these family history talks on the phone? Sometimes it’s easier to be vulnerable and share of ourselves when we aren’t looking anyone in the eye. Have you ever heard that old advice to talk to your teen when you’re driving together in a car? It’s the same idea. Sitting side-by-side rather than across from someone (or, in this case, on opposite ends of a phone connection) feels nonthreatening—no facial expressions to hint at judgment or reaction of any kind. So, yup, even if you’re calling from a smart phone, skip the Face Time and simply hit the digits for an audio call.
How to conduct family history interviews over the phone
Think you might like to start having some family history conversations with a loved one? Here are a few simple steps to put you on the path to easily recording your legacy:
Decide whom you will interview first.
Mom? Dad? A grandparent or sibling? I recommend choosing someone who you know will be receptive, who you know has great foundational family stories, or who you are worried may have limited time left (they may be impacted by dementia, for instance, or simply be getting older).
Tell this person what you want to do.
“I’d like to have weekly/monthly/bimonthly phone conversations with you where I interview you about your memories.” Stress that there’s no pressure to ‘perform,’ and share your reasons for wanting to embark on this family history project.
Create a list of themes you’d like to discuss with your family member.
Ideally, each hourlong phone call will have a central theme—for instance, childhood, career, family recipes, traditions, military service, home, love stories, lessons learned, etc. Ask them in advance what things they’d most like to share, and tailor the early part of your list to what excites them. You may want to ask your subject to create a life timeline in advance of your first phone call.
Prepare, or don’t prepare.
You may want to use this list of family history questions to guide your conversations, or create a list of your own according to each talk’s theme. Definitely tell your subject what you’ll be talking about so they have time to let memories simmer, or even dig up relevant photos or letters before you talk. But don’t go crazy with preparation. Ask open-ended questions, listen generously, invite stories, and prompt more with insightful follow-up questions, and you’re guaranteed to gather stories worth saving!
Record your conversations (twice).
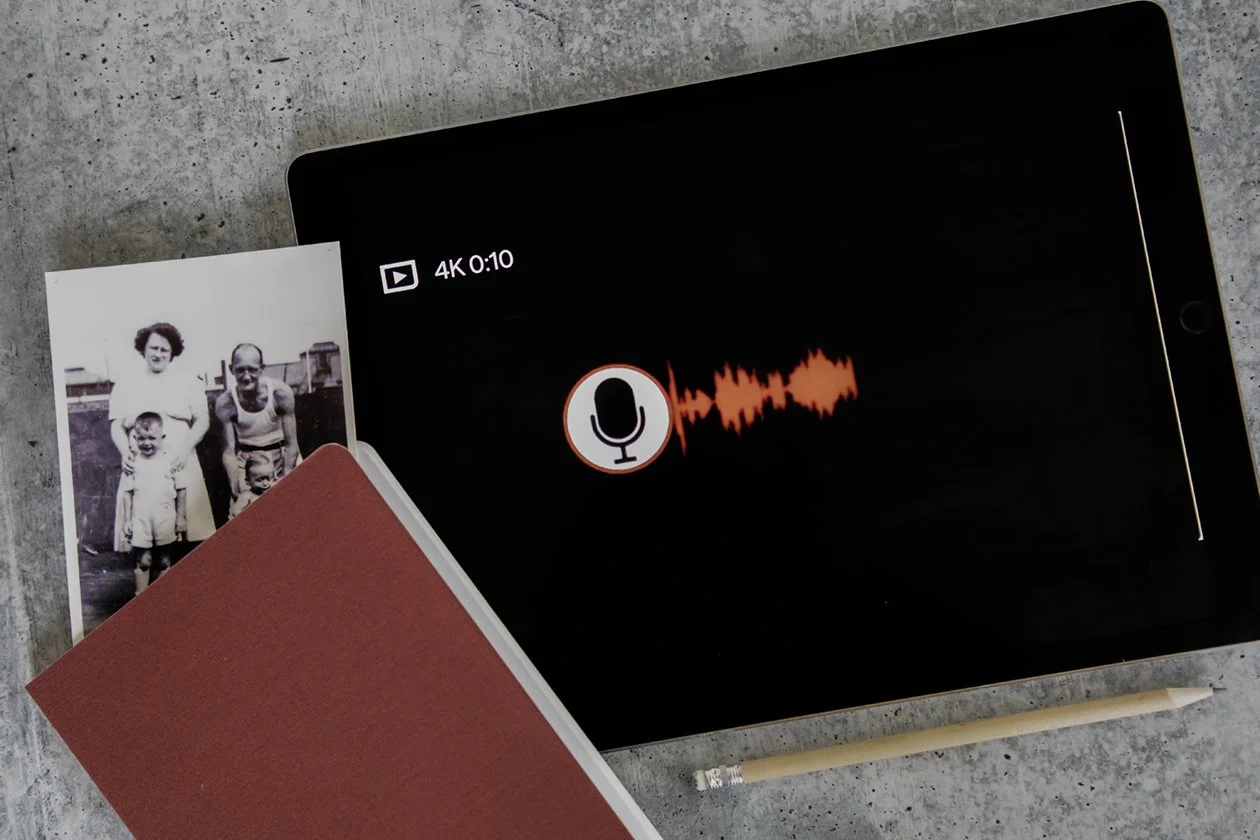
Use two methods to record the audio of your family history talks. You can use a paid service such as TapeACall (bonus: you get accurate transcriptions) to capture sound. Other ways to record audio: Use the phone call option in Google Meet or Zoom to host your call (they each have recording options); or simply put your phone on speaker and hit “record” on the recording app on two devices (your computer and an iPad, for example).
There are a host of things you can do with your family history once it’s recorded, but know this: The most important part is ensuring you capture it in the first place!
I am fairly certain that once you finish your family history calls with Mom, you’ll want to (a) keep talking to her on the regular (that bond is forever!) and (b) start up a new cycle of calls with Dad, Grandma, Grandpop…you get the idea.
More easy ways to gather family history stories from your living relatives:
How to edit your family history so it will make sense 20 years from now
Ready to edit your family history or life story book? Follow these three tips from a personal historian to ensure everything is clear for your descendants.
You’ve written your family history in narrative form (congratulations, that was a major undertaking that took great commitment and effort!!!), and now you’re on to next steps: giving your work a final edit and determining how you will preserve it for the next generation. I’m here to share three things you should do during the editing process to ensure that all your hard work is understood and appreciated by your readers.
1 - Be explicit with family members’ surnames and ages.
Your mom’s sister who was named Margaret but only ever went by Aunt Peggy to you and your siblings was actually called Maggie when she was a little girl. There may be a great story in there (and if, so, try to find it through interviews!), but I’m sharing this example to illustrate how important it is to be explicit when introducing family members (a.k.a., your characters).
On first reference, give a person’s full name, as well as some type of relational status (e.g., “my aunt” or “mom’s brother”). How you approach adding in the relationships will depend on the voice you are using to tell your stories. So, if you have written the majority of your family history in first person, then all of the relationships should be in relation to you—“my paternal great-grandmother,” “my father’s step-sister,” etc. If you have chosen to write in a more neutral third-person voice, then determine who the main character is of the particular story you are editing, and designate all people in relation to them—so, if Mary Smith is your story’s protagonist, you’ll introduce people as “John Joseph Smith, Mary’s older brother” and “Desirae Kensington Smith, Mary’s mother.”
You’ll also want to mention any nicknames that you are aware of—and do so in the most clear way possible. Because imagine you simply say “Aunt Peggy decided to move to Texas…” and a relative who has only ever known her as Maggie is reading this; you run the risk of your character going unrecognized or being confused for someone else. I guarantee the chances of this happening increase exponentially the further your reader gets on your family tree. Your grandchild will have no idea who these people are beyond the picture you create on the page.
I think it is so helpful to include an age—even an approximate age—when orienting a reader at the beginning of a particular family story. Was Aunt Peggy approaching 40 when she had her first child? Was your father just a teenager when his own father died? Again, adding ages in this way is to make it easy for your readers to follow what’s happening. You are abundantly familiar with your characters—they are your family, after all, and you’ve likely been spending a lot of time with them via your research; your readers, however, are not quite so familiar. So seamlessly give them the info they need without having to flip back to see who the heck Mike Jessup is again!
2 - Orient your reader with explanatory help throughout your family history.
Just as your reader two generations on will need help with names and relationships, they, too, will need help with other details you may take for granted. Try to do a read of your material as if you are someone who has no familiarity with your family or their history. What questions arise? Where might you add context to help bring your story to life?
A few examples of details you may want to include or elaborate on:
Beyond a city name, can you characterize where they lived: Was that place in that time a wealthy enclave, a haven for transplants from the big city, a blue-collar town where neighbors watched out for one another’ kids?
Beyond a year, might you add some details that reveal how history may have impacted them? “The year was 1865, and while the Civil War had ended, that reality hadn’t quite sunk in for many who lived in my great-grandparents’ home state of Louisiana.” This could be a great opportunity to take advantage of new developments in artificial intelligence and ask ChatGPT or Google Bard for help describing what a time period or region was like—just be sure to include a directive in your chatbot inquiry to “use only factual information” when generating your answer!
What other parts of your story might be vague or confusing for a new reader? If you don’t think you can identify such problem areas, perhaps ask a friend or colleague to give your family history story a read and mark their questions in the margins. I bet you’ll be surprised by some of their queries!
3 - Provide graphic “cheat sheets” to make things easy for your readers.
Reading an account of genealogical research can seem like an exercise in…well, putting someone to sleep—but sharing stories, not just facts, and providing elucidating information (as described above) are great ways to engage your readers. Another is to include visuals that aid in your storytelling.
Family photos go a long way in drawing readers into a story, of course, but there are other graphics you may want to add. Consider creating:
Family tree charts: This can be as simple as a family chart that is generated through your Ancestry or FamilySearch account. Note that I used the plural here—while, yes, you may include a large family tree showcasing all the ancestors whose names you know, I recommend creating a few smaller charts that are relevant to a specific chapter or story. So if you’re telling stories about your second-great-grandfather Will Shannon, make Will the root of your tree and show just his parents and his siblings; then, in a subsequent chapter when you have an account of Will’s son, your great-grandfather, Marcus, create another family chart with Marcus at the root. Do you see why? That way your reader can easily glance at the chart to orient themselves within the family without really taking themselves out of the story.
Maps: If you’re a die-hard genealogy buff, then perhaps you have insurance maps and land ownership maps in your files—include those if they are clear and they help illustrate some aspect of your family history. Then consider including more straightforward maps—an outline of your country of origin with relevant cities marked, say, or a map of the world with your ancestors’ immigration journeys marked with arrows. There are plenty of resources online to buy inexpensive digital maps, including Creative Market or Fiverr (for custom creations); and you can explore public domain maps from David Rumsey and also around the web.












How to preserve the stories behind your family heirlooms
Whether your family heirloom collection consists of generations’ worth of antiques or a handful of sentimental items, catalog them for the next generation.
Photographing your family heirlooms is a first step in preserving their legacy. You can go as basic as snapping a few simple pictures with your phone’s camera or taking the time to style and properly light your heirlooms like I did with this image of my mother’s rosary beads.
So often a family history book has its genesis when a family decides to downsize. The kids are grown and have homes of their own—and they've yet to collect all the things that have been saved in boxes labeled MEMORIES. Going through those things inevitably sparks some pangs: What are we going to do with all this stuff? How can we part with ANY of this? Will the kids even remember what it all means?
The “stuff” holds stories, and it's often those stories we aim to uncover and preserve through personal history interviews—again, usually before donating or tossing much of the stuff…
Sometimes, though, the stuff matters as much as the stories. Just because you plan to hold onto the physical objects (fingers crossed subsequent generations will want to do the same) doesn't mean you shouldn't still capture their stories!
First step: Make an inventory of all the things you consider heirlooms. Next: Prioritize which ones hold the most meaning and begin to capture their history.
Just a few heirlooms?
>> Capture their stories, one heirloom at a time.
Whether you are writing a full-fledged family history or compiling just a few of your favorite personal stories, consider photographing the heirlooms that mean the most to you and writing about them.
Include each object's provenance:
Who owned it first, and who was it passed down to? Write the list in reverse-chronological order, and include years and locations (where the owner lived) whenever possible—these details are gold for any future family historians.
Where was it made/purchased?
Why does it hold meaning?
Do you personally have any special associations with the item (favorite memories, or stories you remember recounted by a grandparent, for instance)?
Lastly, even though you are including a photograph of the heirloom, write a brief description of the object: material (such as an oak cabinet), model (such as of a vintage pistol or a watch), size, etc. This is especially important if you are getting rid of the item or if it becomes separated from this history you are preparing.
Consider recording all of these details in a binder (one sheet per heirloom, stored in clear archival sleeves) or in a recipe box (one index card per heirloom, with a photo and name on the front and details on the back). Other options: Purchase an heirloom journal to capture all the history (I love this one from Hannah Bergen, who also has an heirloom provenance kit), or hire a personal historian to help you put it all in an heirloom book (reach out if interested!).
Loads and loads of artifacts?
>> Create a family heirloom catalog.
Maybe you are cataloguing generations' worth of heirlooms, or maybe you've got a treasure trove of vintage cabinet cards and other photographic heirlooms to make sense of. If you've got more than 20 heirlooms, consider creating a custom index of all of them.
In some ways, this type of project is as straightforward as the previous recommendation: You'll begin by photographing each heirloom (or digitizing your print photos, if you’re dealing with a family photo collection) and recording its provenance in writing. The subsequent steps, though, will elevate this catalog into a family history tool that will be an heirloom unto itself.
First, take your inventory and create categories for your heirlooms to fit into. These will be used to organize the structure of your catalog and to create a useful index for finding heirlooms in various ways, so be as intuitive and descriptive as possible (and know that some heirlooms may fit into multiple categories). Consider creating tags in various categories, such as:
Time period: Civil War Era, 19th Century, 18th Century, 1960s, etc.
Object type: Furniture, Jewelry, Household Object, Photograph, etc.
Owner(s): [names of specific family members who may have at one time had possession of this object]
Value: Sentimental, Financial, Historical
Second, assign tags from each category to every item in your collection. It may be helpful to use a spreadsheet to record all of this data (this is an especially relevant step when dealing with a large number of heirlooms, as you will be able to sort columns by categories or alphabetically—and therefore more easily generate an index).
Third, decide on the broadest categories to create your book architecture—these will be used as de facto chapter headings and will be reflected in your catalog's table of contents. You may want to present your heirlooms based on branches of your family tree, for example (so you may have broad headings of MATERNAL LINE and PATERNAL LINE, then family surnames used to designate chapters within each of those; or instead organize by type of heirlooms, so your chapter titles would derive from those subcategories (Photographs, Furniture, Jewelry, etc.). Choose what makes the most sense for your distinct collection.
Sound like a big undertaking? It is, but if you set parameters early and tackle a few heirlooms per week, it's a project you can complete in a year for even the largest family heirloom collections!
No heirlooms?
>> (I doubt it. Let’s see…)
It's a rare individual who hasn't held onto something of meaning from their childhood or ancestors. Chances are you just wouldn't think of calling those things ‘heirlooms.’
If you hear the word heirloom and think of a dignified mahogany clock or a great-grandmother's passed-down wedding ring, you're right on—that's an heirloom, and Merriam Webster would agree:
1 : a piece of property that descends to the heir as an inseparable part of an inheritance of real property.
But what about the second dictionary definition?
2 : something of special value handed down from one generation to another.
…and who's to say what holds value? You say, that's who. An heirloom in no way needs to be worth a lot of money! Consider these items that I certainly consider heirlooms:
the grease-stained recipe cards my mom saved (including a few of the ones with recipes clipped from old Better Homes & Gardens magazines)
my mom’s wooden spoon, which I use almost daily
my grandfather’s playing cards
my son’s tattered stuffed lion that holds more love and stories than almost any other item from his childhood.
What sentimental items come to mind for you? Once you've gone a nostalgic journey remembering the stories associated with those, consider recording their stories…and calling them heirlooms.



3 great ways to capture stories at a family reunion
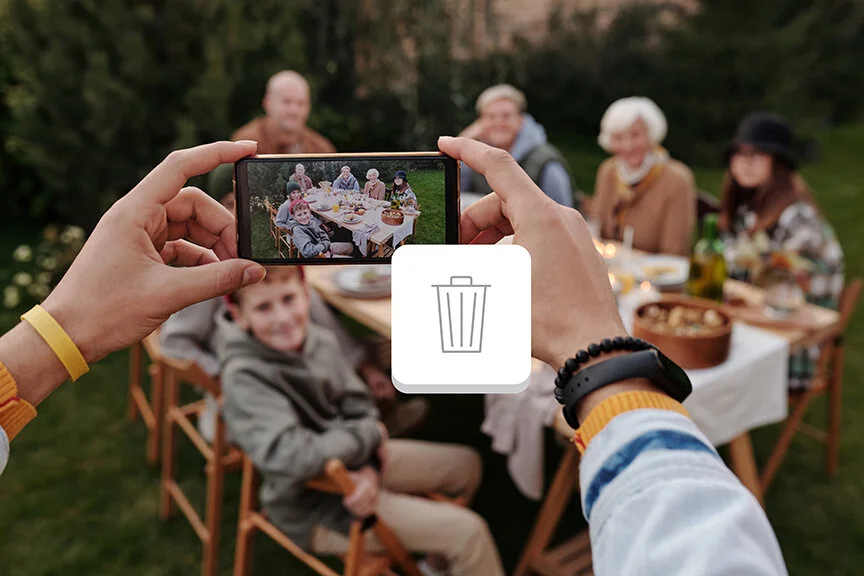
Family reunions are optimal occasions for gathering family history—and if you go in with a plan, you’ll be able to preserve stories AND have a great time!

What other occasion will you have access to so many branches of your family in one place? Family reunions are optimal times for gathering family history—and if you go in with a plan, you’ll be able to preserve stories AND have a great time!
Family reunions are a great way to create a sense of community and belonging, visit with distant relatives, make new friends and connections, and even to pass down family history and traditions. At your next big familial gathering, why not be intentional about collecting family stories with these ideas for making story preservation fun and easy:
Then, enjoy these tips for ensuring your stories are properly preserved (and shared!) PLUS some bonus ideas for even more family reunion family history activities!
1 - Set up a mobile story recording booth.
Okay, not a booth, necessarily, but an area dedicated to recording family members’ stories is fairly easy to create:
Choose somewhere as quiet as possible (a separate room if your reunion is at least partially indoors, or a picnic table set apart from the group under a shady tree, for example, if the reunion is outside).
Set up a recorder of some kind—it can be an audio recording app on your phone (I recommend using two just in case one has technical difficulties) or a camera atop a tripod set to record video (in which case I recommend having a designated person to mind the camera).
Create a sign-up sheet and encourage as many of your family elders, in particular, to pick a time slot and share some stories! You may wish to create this in advance of the reunion, or else invite people to sign up as they arrive.
Provide a list of a few questions or story prompts to give story sharers ideas of what to talk about, or choose a single theme for all storytellers to stick to (think “Growing up as a Smith,” “Childhood memories,” or “Family food memories”).
You may want to have storytellers share their stories with no audience (in other words, speaking directly to the recording device on their own)—a good option if you or another individual doesn’t want to be tied to this activity all day. However, I find that having an engaged listener helps a storyteller tremendously—so consider having pairs of family members enter your “booth” to swap stories with one another. A great option is to have younger family members interview family elders—a grandchild interviewing a grandparent, for instance, or a younger sibling interviewing their older sibling. You want an interesting dynamic, certainly, but most importantly you want to have a genuinely curious listener asking questions and prompting stories from their partner.
Lastly, create a set of directions—something as simple as:
At the beginning of your recording, introduce yourself: Say your name and spell it out completely.
Say who your parents are and the names of your children, if applicable.
Answer one or two of the following questions with a favorite memory or story from your life [then include a brief list of prompts or questions].
2 - Hire a professional personal historian to conduct short interviews with interested family members.
In this case, you may be following a process similar to that outlined above, but with a professional interviewer collecting oral histories. Going this route allows you to both feel assured your family history is getting recorded and also to relax and enjoy your reunion visiting with relatives.
Please reach out if this is something you are interested in—if you are in the greater New York–New Jersey region, I may be able to assist you; and if you are located elsewhere, I can likely refer you to a colleague I trust closer to your home.
3 - Get the family writing in advance with a fun reunion-day twist.
Invite family members to write one story from their life before the reunion but without putting their name on it. To make it easy and fun, give a few specific writing prompts that they can choose from, as well as a suggested word count. For example—
Write 300-750 words about:
A favorite story from your childhood that makes you smile or feel proud
A story about interacting with one of your parents or grandparents where you learned a lesson or understood something anew
A story about a time you felt loved and special
A story about a time you failed at something (it could be as small as doing poorly on a test or as big as losing a job or making a bad decision) and how you dealt with it
Do NOT sign your name or use names of your family members in your story (instead, say “my mother” or “my sister,” etc.).
To make this writing activity come to life during your family reunion: You, as the organizer of this family story-gathering activity, compile all the stories submitted by family members into a basic book (it can be as simple as a printed Google doc or photocopied pages of their handwritten accounts). Number each contribution clearly. Place this story book in a central location, and invite guests to guess who wrote each entry (you may want to pass out paper and ask them to cast their votes on it; or, if there aren’t too many stories, invite younger members of the family to read them aloud and have everyone yell out their guesses as to who the original author is).
Ensure the stories gathered at your family reunion are preserved.
Whichever approach you take to gathering stories from your extended family, it is critical that you do something to ensure those stories are preserved:
If they were recorded orally, have a plan for transcribing those oral histories (AI transcription services such as Otter.ai have made this easier than ever).
If they were written for the guessing game described above, designate one person to take notes as to the ACTUAL authors of each story, and create a new version of your simple book with all people properly identified in each story.
Make your final project accessible to everyone in the family. These stories are part of their legacy, and may in fact serve as an impetus for future life writing and genealogy research.
Consider adding photos and having your book professionally designed and printed so it becomes a tangible family heirloom that can be passed down to the next generation (and, dare I say, used as a prompt for telling MORE stories at your NEXT family reunion!).
A few more ideas for documenting family history at your family reunion
Ask everyone to share a family recipe (which you can compile into a book or distribute via a shared Google document).
Set up a computer station with the de facto family historian’s Ancestry or Family Search account set up for viewing—and include a pad of paper where extended family members can answer genealogy questions or share memories.
Ask everyone to bring one (or a few) of the oldest family photos in their personal collection to be scanned by a family volunteer—all they need is a smart phone and an app such as Google Photo Scan or Photomyne; just be sure to clearly name the image files with the names of everyone in the photograph and any key details (date, location, etc.). Ideally, all of these photos will be made available to the group via software such as a shared Google Photos album or a service such as Forever or Permanent.org.
Create a shared digital space for everyone to upload photos they took during the reunion (family history in the making!).

Get your free guide of Essential Family History Questions
All the best family history interview questions to capture their (or your!) stories, in a beautiful printable guide
I hope that as you are having fun and strengthening bonds at your next family reunion that you will take some time to proactively record history in the form of memories and stories! Let me know if you have any questions or would like to hire a professional personal historian to guide the story sharing.
What to do when you have too many memory-keeping ideas
Don’t let all those memory-keeping ideas swirling around your head overwhelm you. Instead, take some time to hone in on which stories to tell first—here's how.
Lots of light bulbs going off in your head? Consider that a good problem to have—chances are your next life writing project is amidst that mental clutter! Take a few steps, outlined below, to hone in on which topic to tackle first.
I recently had a conversation with a gentleman who had a multitude of ideas for book topics—he wants to tell his own story, his mother’s story, the story of his more-than-100-year-old family business, the story of the best friend from college who recently passed. The talk was chaotic—a maelstrom of memories. It was exciting.
Fertile ground—that’s my positive spin on what can often be considered overwhelming: early talks with folks who know they want to preserve their legacy in a book, but have too many ideas. For while it can indeed be overwhelming for you, I am able to take notes as an objective listener and ask questions to help you refine your goals and, ultimately, set priorities.
Sheer overwhelm is, from my experience, the number-one reason most people let their life story book ideas languish. I’ve written a lot about ways to minimize that overwhelm (check out this post for easy ways to minimize the fuss and just get started, for example)—but right now I want to focus on narrowing down your ideas to the most pressing one.
How to choose which life story theme to explore first.
These steps are applicable whether you want to write your memoir (perhaps as a series of vignettes!), speak your stories into a recorder to be transcribed for a life story book later, or simply to create a photo album or oral family history. No matter the final form of your life story preservation, following these four simple steps will help you get control of your ideas and settle on one topic to tackle first.

Step 1 - Do a brain dump.
Get all those ideas out of your head and onto paper. It’s okay if your scribblings are as messy as those ideas swirling around your mind—just write them down, one phrase and memory at a time. This is what we call brainstorming, and it’s both effective and cathartic. Give yourself 10 minutes, tops, but try not to pick your pen up from that paper…keep the ideas flowing! I recommend doing this with good old-fashioned pen and paper.

Step 2 - Make a list.
Type up your handwritten ideas in list form without regard for order or relevance. Don’t edit or ruminate over anything; just make it presentable, then print a copy you can mark up later.

Step 3 - Step away from the page.
Seriously, slip your paper in a drawer and forget about it for a week. This will give you enough emotional distance to approach the next step with the necessary perspective.

Step 4 - Set priorities.
Okay, maybe this one’s a little thorny. What if every idea looks A-MA-ZING?! What if your heart palpitates at the thought of choosing one life story topic over another? It’s all good. It means you’re excited about preserving your stories and, most likely, that you’ve lived a life filled with stories worth sharing!
Remember that your goal here is to set some realistic priorities—to identify which life story angle you are going to tackle first (and that doesn’t necessarily mean it’s “the best.”). It DOES mean you’re choosing a topic
(a) that is currently at the forefront of your mind, for whatever reason;
(b) that you’ve already written a bit about and would like to develop further;
(c) that a family member has expressed interest in;
(d) that you feel some urgency about capturing before memories fade;
(e) or that troubles you, and you want to explore to write your way to clarity…
These are just some of the reasons you might choose one memoir topic over another. Simply having a gut feeling about one idea is reason enough to pursue it, in my opinion.
You can’t finish a life story book, memoir, or oral history memory-keeping project if you don’t start. By picking one of these ideas as your first priority, you’re on the right (productive!) path.
Do those four steps still feel too overwhelming?
Sometimes you may not be up for all that. There is another way: Set aside time for a few introductory personal history interviews. That’s what I am doing with the aforementioned client who was overflowing with life story ideas—we’ve scheduled three interviews that we are looking at as “data collection.” I will guide the conversations with an open mind, paying attention to those stories that get him excited, that spark 10 more possible related stories, that feel like the fertile ground I referenced earlier. I will also note those that may seem more like a chore to talk about, that don’t feel as urgent.
You can do the same thing with a loved one if you like. Ask a family member or friend to sit down for an intentional reminiscing session. It needn’t be a formal interview like the one I will have with my client, but it should be approached with purpose. Tell them what you are hoping to achieve (to narrow down your ideas for a memory-keeping project or personal history book) and invite them to ask questions and comment on what they find of interest. You can record the session to hear how your voice betrays your feelings about a given topic, or take notes as you go. Either way, I am willing to bet the very process of sitting down to talk about your memories will both get you excited to begin preserving your stories for real AND help you decide which aspect of your life to explore first. Good luck!
Ready to start writing your life stories?
Don’t stress about the quality of your writing—use your authentic voice.
Not sure how to proceed but still chomping at the bit to preserve your life stories? Consider scheduling a free 20- to 30-minute phone consultation to see how we could work together.

“To be continued…”: When breaking up a family history interview is wise
There are a variety of reasons—including traumatic memories—when pausing a personal history interview is the best course of action. Give in to the silence if...
There are many times when it’s good to hit the proverbial pause button during a personal history interview—you can always pick up the topic during another session.
I was in a meeting with fellow personal historians recently when we got on the topic of helping our clients discuss challenging times during their personal history interviews. There was so much wisdom in that (Zoom) room and one thing I jotted down was a simple phrase: “To be continued…”.
In this case, we were talking about a son wanting to hear about specific—difficult—times in his mom’s life: These were things she didn’t talk about with her family, but that certainly contributed to her identity and outlook on life. It’s understandable that he would want to learn more about his mother’s experiences. But—and this is a big “but”—when my fellow personal historian brought up this topic during an interview session, the person answering questions only went so far before getting quiet. Was it too awful to probe? Was the subject paralyzed by bad memories associated with the experiences? Did she even want to “go there”?
As trained personal historians, my colleagues and I are accustomed to giving people space—space to formulate answers, to think, to spend time exploring memories and being heard; it is a sacred space. Often moments of quiet during an interview will lead to meaningful and surprising stories. But sometimes, well, they won’t—sometimes, those extended silences may go nowhere. And that is 100-percent okay.
And sometimes, those silences are productive in another way: A seed has been planted via the question, and that seed needs time to germinate. Hence, that phrase I took note of: “To be continued…”.
Saying those words out loud either at the end of an interview or after a pregnant pause in the midst of an interview gives the subject time and space. The words are a recognition of the fact that, yes, we can continue this topic another time. That, yes, it’s okay to give it some breathing room. And that, no, we don’t need to finish this conversation right now.
Remember, though, that it’s not only a probe of traumatic experiences that may necessitate those words, “to be continued.” You may want to turn the conversation towards something lighter and more fruitful during a personal history interview in other circumstances, too. Here are a few instances where hitting the proverbial pause button on your interview (or at least on a topic that ends in a prolonged silence) can be beneficial:
Decide to resume discussion of a topic in a subsequent family history interview when:
the interview subject feels like exploring the current topic (whether involving trauma or otherwise) is too emotional, too difficult, or too uncomfortable
the interview subject would like to consult with a family member to check details on a sensitive memory or story
the interview subject is feeling tired
the interview subject has expressed that they would like to think about how to approach the topic
the topic being discussed could reveal things that negatively impact a loved one or other individual (in this case, be sure to reiterate that anything that comes up during the interview can be removed later, whether from an edited recording, a transcript, or a book).
One other thing worth noting: All of the above reasons for breaking up a personal history interview involve some form of challenge, but there’s another strong reason for resuming conversation again later—quite simply, because every time we tell a story, new aspects of our memories may come to the fore. So each new telling of a story may add texture, details, meaning. “No memory is ever alone,” Louis L’Amour wrote, “it’s at the end of a trail of memories, a dozen trails that each have their own associations.” So take one trail today, another tomorrow. Give your subject space. Let them know it’s more than okay for your conversation “to be continued…”.







Leave a legacy that is a blessing to your descendants
Your legacy is more than the assets you leave behind—much more. Here, three ways to leave a personal legacy that has a positive impact on your loved ones.
Happy memories. An example of a life well lived. A model of resilience. A set of values to guide one’s choices. An inheritance of service to others. Of gratitude. Faith. Love.
These are the things of a meaningful legacy.
For your legacy is more than merely the finances and property you leave behind. So much more, in fact. Your legacy is not something you leave for your family and friends; your legacy is something you leave in them.
3 ways to leave a meaningful legacy
This isn’t a blueprint for your life, just a few suggestions for leaving a legacy that has a positive impact on the loved ones you leave behind.
“Thoughtful focus on legacy not only brings meaning and context to our daily lives, but it also allows us to create and pass down a rich, multi-dimensional view of our lives to future generations,” my personal history colleague Clémence Scouten has written. I couldn’t have said it better!
So, here are three ways you can begin to preserve your legacy for those you love:
1 - Curate the stuff of your life now, so they don’t have to do it later.
Going through my mother’s belongings after she died was one of the hardest things I have ever done. Virtually everything I touched in her home held memories, and the weighty decision of what to keep and what to get rid of overwhelmed me in my grief. I was thoughtful (some might say overly thoughtful) about these decisions, but what if your descendants don’t have the time or inclination to be so discerning when the time comes to go through your stuff?
Make it easy for them:
Purge things from your closets and storage rooms that you don’t use (a gift to yourself now, too—you’ll feel lighter, I promise!).
Organize and digitize old photographs and mementos. There are professionals who can help with this, if it seems like too much; reach out and I can refer someone to you in you area.
Photograph heirlooms and write up their stories on an index card attached to the back of each print: How old is it? Who did it belong to before you? Why is it special? (And remember, an heirloom is such because you say it is, not because it would sell well in an antique store—that well-loved stuffy your son clung to as a baby or your mom’s grease-stained, handwritten recipes are as heirloom-worthy as a string of pearls!).
Consider getting rid of “heirlooms” that either don’t bring you joy or that make you feel heavy or resentful. That rifle used by your Confederate ancestor in the Civil War? If it makes you feel bad, you don’t have to hold onto it; photograph it, write its story, then pass it on to a museum or other institution that can honor its history in context. Or that bulky piece of furniture that has been in your family for generations but that has no place in your home? Maybe refinish it, or ask your kids now if they like it—if so, sure, save it for them; but if they say ‘no,’ don’t hold onto it out of obligation, and don’t pass that sense of obligation (and guilt) onto them!
2 - Preserve your stories to inspire and guide them.
Have you ever wished you knew more about your grandparents’ lives? Heck, how about your parents’ lives? Be a good steward of your own family history and get those stories down! You have many choices for how to preserve your personal history:
Write your life stories. If you enjoy writing and have the time, by all means consider writing your memoir. Find resources for how to get started writing your life here.
Speak—and record—your stories. For many people, it’s easier to tell their stories out loud than to write them. Consider using some family history questions to guide you in your storytelling, or ask a family member to sit and interview you (having a compassionate and curious listener is incredibly helpful in eliciting meaningful stories). Remember: Hit “record” on your smart phone app to ensure you have captured everything. Find a helpful step-by-step guide to how to record your life stories here.
Hire a personal historian to help capture your legacy. There are those of us, like me, who specialize in turning the materials from our interviews into heirloom books; and there are colleagues of mine who produce video biographies or even audio snippets of your life. Why hire a professional? Perhaps you want to ensure the highest standards of your project, or maybe you are simply overwhelmed by the idea of where to even start, no less finish, such an endeavor. Or maybe you recognize that having someone to receive your stories—to bear witness, to engage with—can be invaluable. As Mark Yaconelli writes, “Each of us wants to catch the birdsong of our own life, but often we need a listener to score the melody, to sing it back to us, to help us whistle forth our own merry tune.” Amen.
3 - Live a life well-lived.
There are entire books, podcasts, and films made about how exactly to live a life well-lived, so I am certainly not going to sum up this idea here in a few words. I will say this, though:
Live with intention. Follow the path that feels authentic and right to you. And please, be gentle with yourself. You don’t want to live to create a legacy, of course, but remember that the WAY you live your life will be your legacy.
In closing, I would like to leave you with a few words from Rabbi Steve Leder, whose book For You When I Am Gone: Twenty Essential Questions to Tell a Life Story I highly recommend. He writes, “Let us leave words for those we love in order that we may journey with them long after we are gone, and let it not take imminent death for us to find those words and craft a more meaningful legacy.”
And: “We cannot learn from a story no one has ever told us.”
So, tell yours, won’t you?
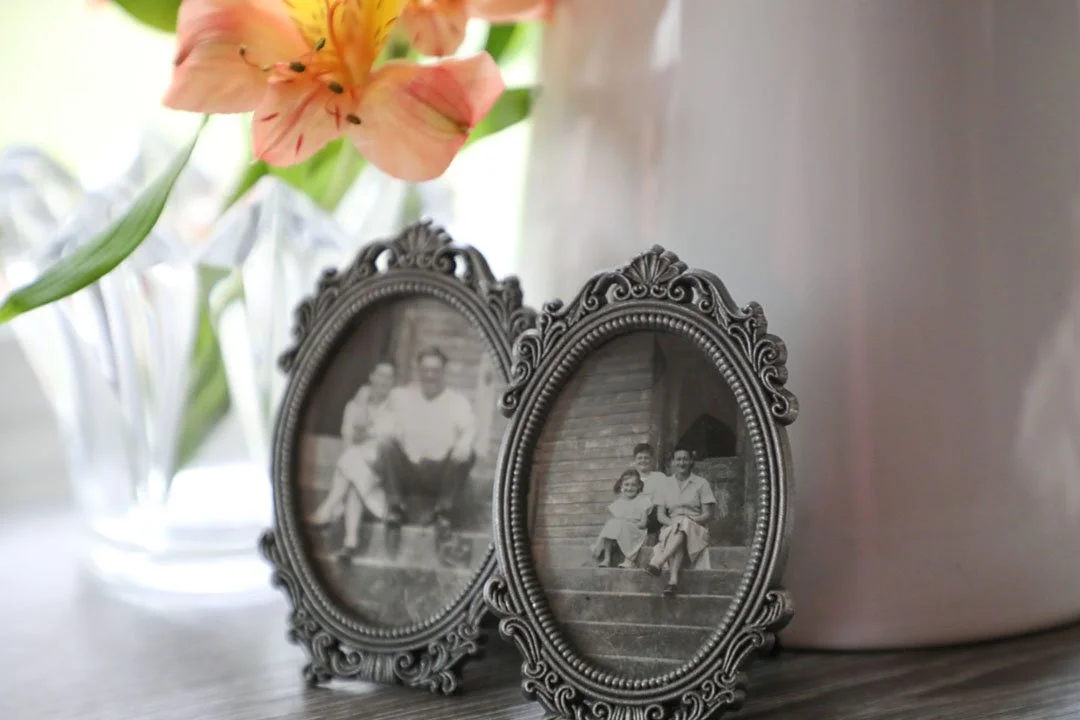
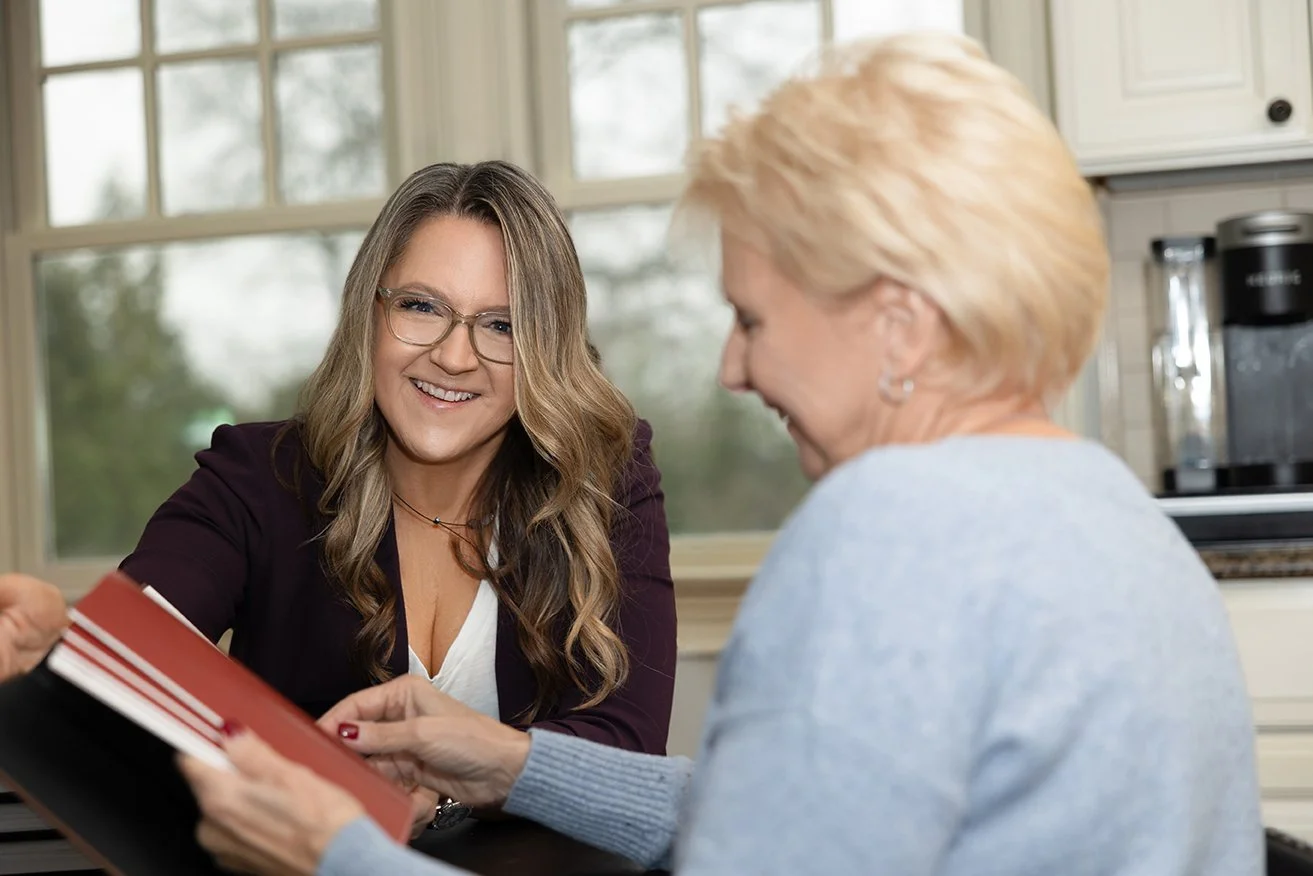




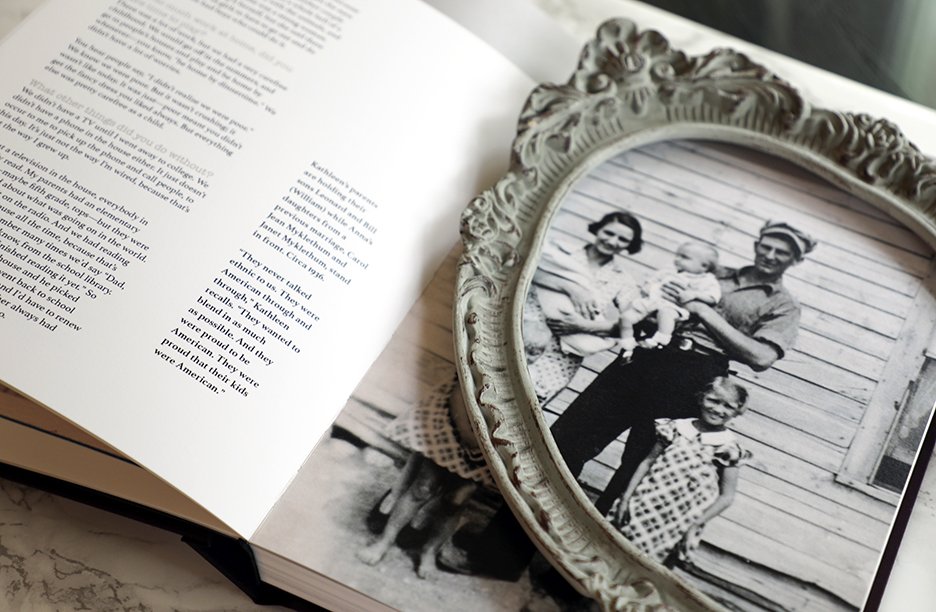








Dawn Roode’s curated roundup for the week of Sept. 23, 2026, is overflowing with recent reads on memoir, life story writing, and family history preservation.